How to Clean a Bike Chain
Three levels, one procedure each. Which one you need depends entirely on what lube you run — and if you're waxing, only one of them counts.
Heads up: we earn a commission if you buy through the links on this page, at no extra cost to you. It never decides what makes the list — here’s how that works.
A clean chain is the cheapest performance upgrade in cycling and the one nobody sells you, because there’s no margin in a rag. It shifts better, it runs quieter, and — the part that actually matters — it wears out slower, which means it destroys your cassette slower too.
This is the one page on this site where our author is the source. Stephen isn’t a mechanic and doesn’t claim to be, but he has cleaned a great many chains in his own garage, including doing several of them wrong first. What follows is the procedure and the mistakes, and we’ll be clear throughout about which bits are Park Tool’s published method and which are his hard-won opinion.
What we won’t do here is tell you which degreaser is best. We haven’t compared them and we’re not going to pretend we have.
First: what are you cleaning it for?
Before any of this, answer one question, because it determines everything below. Are you running an oil lube, or wax?
If you run a wet or dry oil, you never need to fully strip a chain. Wipe it after rides, run a scrubber through it every few weeks, re-lube, done. Level 2 forever is a perfectly good life.
If you run — or want to run — wax, everything changes. Wax does not bond to a chain with oil on it. It sits on top of the oil and does nothing except seal the grit in underneath. A wax lube applied to a merely-wiped chain is genuinely worse than the oil you left there. This is the most common failure in the entire lube category: people skip the prep, get a rubbish result, and conclude wax is a con. It isn’t. They just didn’t do step 3. If you’re still choosing between the two, wet vs dry chain lube pulls that decision apart properly.
And a new chain is not a clean chain.Factory grease is a shipping preservative as much as a lubricant — thick, sticky and specifically designed to survive storage. Wax will not bond through it. Stephen’s first waxed chain was a brand new one he assumed was clean because it came in a box. It was not, the wax flaked off within a fortnight, and the second attempt — after a proper strip — behaved completely differently. That’s the whole lesson: box-fresh means dirty, for these purposes.
Level 1: the rag (2 minutes, after most rides)
The single highest-value maintenance habit in cycling, and it takes less time than putting your bike away.
- Shift onto the small chainring and a middle cog. Less chain tension makes this easier and keeps your knuckles away from the rings.
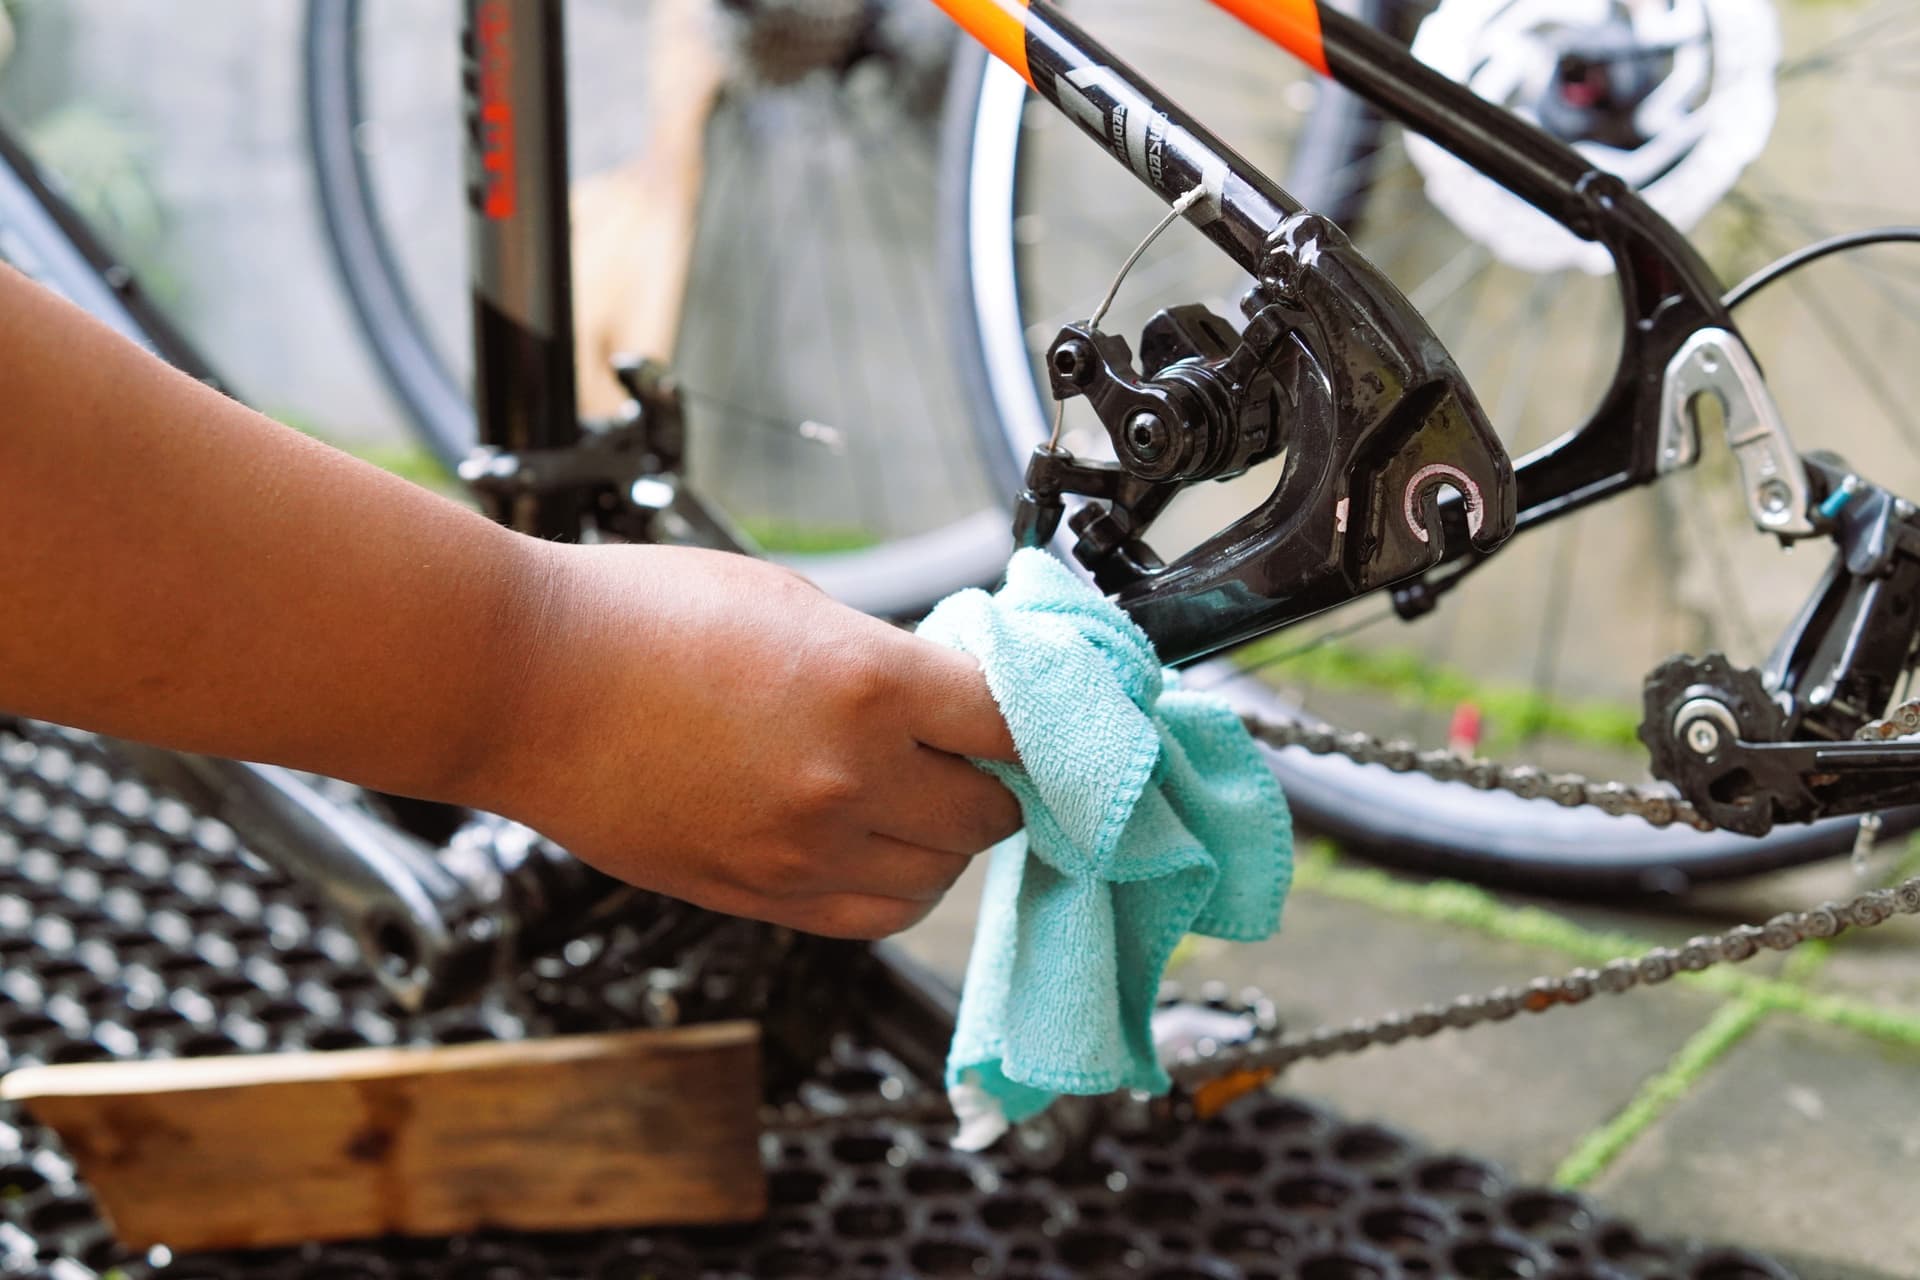
- Fold a dry rag around the lower run of chain — the bit between the chainring and the rear derailleur, where it’s under no load.
- Pinch it gently and backpedal a couple of dozen revolutions. Move to a clean part of the rag and go again until the rag stops coming back black.
- If it never stops coming back black, you don’t need a rag, you need level 2.
That’s it. You’ve removed the grit sitting on the outside of the chain before it gets carried inside — which is where all the actual damage happens. Do this and you may never need to do anything else.
Level 2: the scrubber (15 minutes, every few weeks)
When a wipe-down isn’t cutting it, a chain cleaning device — a plastic box of brushes and solvent that clips around the chain — does the job without taking the chain off the bike. This is Park Tool’s published method, and it works. Products like the Finish Line chain cleaner kit bundle the box with a degreaser; a spray degreaser like the Muc-Off drivetrain cleaner does the same chemical job with more mess and more reach into the cassette.
- Check the chain first.Park Tool opens its own procedure this way, and it’s good advice: check wear with a chain checker before you clean, because if the chain is past its limit you are about to spend fifteen minutes detailing a part that belongs in the bin. The thresholds are here.
- Set up. Bike in a stand or leaning securely. Cardboard or newspaper underneath — this will drip. Nitrile gloves. Park Tool suggests an apron, which Stephen has never once worn and has the trousers to prove it.
- Shift to the smallest cog and smallest chainring. Slackest chain, easiest access.
- Fill the scrubber with degreaser to the fill lineand clip it around the lower run of chain, making sure — in Park Tool’s words — that “the chain fully seats into the brushes”. Use a bicycle-specific degreaser; the job is cutting oil-bound grime, and dish soap won’t.
- Backpedal at least thirty revolutions.That’s Park Tool’s number, not ours. Hold the scrubber steady; let the brushes do it. It looks like nothing is happening for the first ten and then the solvent goes black all at once.
- Empty and rinse. Tip the dirty solvent into a separate container — Park Tool suggests letting it settle so it can be reused, which is worth doing because the alternative is pouring solvent down a drain. Refill the scrubber with soapy water and repeat until it runs clean.
- Wipe the rest of the drivetrain. Cassette, chainrings, and the derailleur jockey wheels — those little pulleys collect a black paste that will go straight back onto your clean chain the moment you ride. A cleaned chain on a filthy cassette is a cleaned chain for about four minutes.
- Dry it. Run the chain through a clean dry rag. Do not lube a wet chain — you will trap water inside the rollers, under the lube, where it will quietly rust.
- Lube it: one drop per rivet. Park Tool is specific — “apply a small drop to each individual rivet”. Not a stripe down the chain, not a spray at the cassette. Backpedal slowly and put one drop on each roller as it passes. It takes ninety seconds and it’s the difference between lubricating the chain and decorating it.
- Then wipe the excess off.Counter-intuitive and non-negotiable. The lube that matters is inside the rollers; the lube on the outside is nothing but flypaper for grit. Park Tool’s reasoning is exactly that — wipe it “to prevent dirt from collecting on your chain”. If your chain looks wet after lubing, you’ve made it worse than before you started.
Stephen’s note on step 10:this is the step people cannot make themselves do. A glistening chain looks lubricated and a matte one looks neglected, so the instinct is to leave it. The instinct is wrong, and it is the reason so many well-intentioned chains are filthy again a week later. Wipe it until it looks slightly under-lubed. It isn’t.
Level 3: the full strip (an hour, once — before wax)
Only necessary if you’re going to wax, or switching lube families. The goal is bare metal: no factory grease, no old oil, nothing for wax to sit on top of.
- Take the chain off. Modern chains use a master link — a pair of outer plates you can pop apart, and the thing master-link pliers exist for (see our multitool roundup for the pocket version). If your chain has no master link you need a chain breaker, and rejoining it correctly is a more delicate job than breaking it.
- Degrease it aggressively, off the bike.A jar with a lid and enough degreaser to cover it, shaken hard. This is the one time “aggressive” is correct — you are trying to remove everything, not manage it.
- Repeat with fresh degreaser until it runs clear.Two rounds minimum, three if it was a new chain with factory grease. The first round always looks like it worked. It didn’t.
- Rinse, then dry completely. Completely. A chain with solvent or water still inside the rollers will not take wax, and a bare chain with no lubricant on it will begin to rust in hours — this is the one point in the process where you are on a clock.
- Wax it immediately. Then check which wax is worth the money.
Stephen’s note on step 4: he has ruined this by being impatient more than once — a chain that felt dry to the touch still had solvent down inside the rollers, and the wax went on beautifully and came off in flakes within a week. Leave it far longer than you think. Overnight is not excessive.
Things not to do
Don’t use a pressure washer on the drivetrain. It drives water and grit past the seals and into the bearings — hubs, bottom bracket, jockey wheels. You will get a beautifully clean bike with a shortened life.
Don’t use WD-40 as your lube. Park Tool is direct about this: “Common household penetrating oil such as WD-40 is not an ideal chain lubricant. Do not regularly rely on penetrating oil for chain lubrication.” The original blue-and-yellow can is a water-displacing solvent — it strips lubricant out rather than adding it. It has one good use in this procedure: driving water out of a soaked chain immediately before you apply real lube. (WD-40’s bicycle-specific lube range is a different product in a different bottle, and it’s on our roundup.)
Don’t get degreaser or lube on your rotors.If you have disc brakes, anything oily on a rotor or pad is a contaminated brake — and contaminated pads generally don’t recover; they get replaced. Shield the rotor, or take the wheel out. It is far easier than the alternative.
Don’t clean a chain that’s already finished.Worth repeating because it’s the most wasted hour in home mechanics. Measure before you scrub.
And don’t do the frame first.If you are washing the whole bike rather than just the chain, the order matters — dirty water off the drivetrain runs straight down whatever you cleaned before it. How to clean a bike covers the full sequence, including the two-bucket setup and the low-pressure rinse rule.
Three levels of clean — pick the one you'll actually do
Most chain-cleaning advice describes level 3 and lets you feel bad about doing level 1. That is backwards. Level 1 done every week beats level 3 done once a year by a distance — the only wrong answer is the level you skip entirely.
| Level | Time | What it does | When | Is it enough? |
|---|---|---|---|---|
| 1. The rag | 2 minutes | Wipes grit off the outside of the chain. Touches nothing internal. | After most rides. The highest-value two minutes in cycling. | Yes — for maintaining an already-clean chain on a wet lube |
| 2. The scrubber | 15 minutes | Solvent and brushes driven through the chain on the bike | Every few weeks, or when a wiped chain still comes back black | Yes — for a wet or dry oil lube, indefinitely |
| 3. The strip | An hour, plus drying | Chain off the bike, degreased to bare metal, dried completely | Before your first wax application, and when switching lube families | This is the only level that qualifies a chain for wax |
The times are Stephen’s own, from doing these jobs on his own bikes in his own garage — they’re honest estimates of how long this takes a competent amateur who is not in a hurry, not a stopwatched figure and not a claim about anyone else’s hands. The procedure in level 2 follows Park Tool’s published method, including its “at least thirty revolutions” of the cranks.
What actually decides this purchase
The rag is the product.Genuinely. If you buy nothing on this page and just wipe your chain down after rides, you will get most of the available benefit for nothing. Every product below is a way of catching up on rags you didn’t use.
A scrubber box or a spray? Different jobs.The box contains the mess and drives brushes through the chain; the spray reaches the cassette and jockey wheels, which the box can’t touch. Plenty of people own both. We haven’t compared how well either cuts grease and won’t pretend to — what we can tell you is that they’re solving different halves of the problem.
Buy bicycle-specific degreaser. The job is cutting oil-bound road grime off steel without attacking seals or paint. Park Tool specifies a degreaser formulated to “cut through the thick buildup of grime and oil”found on used chains. Household kitchen products aren’t formulated for it.
The chain checker is the tool that saves you money.Not the cleaner. A cleaning kit maintains a chain; a chain checker tells you when maintaining it is pointless and when a worn one is about to take your cassette with it. If you’re only buying one thing from this hub, buy the checker.
Common questions
How often should I clean my bike chain?
Wipe it with a dry rag after most rides — two minutes, and it’s the highest-value habit available. Beyond that, let the chain tell you: if a wiped chain still leaves black paste on your fingers, it’s time for a scrubber. Nobody publishes a mileage figure that survives contact with reality because it depends entirely on rain, dust and your lube, and we’re not going to invent one.
Do I need to take the chain off to clean it?
Not for an oil lube — Park Tool’s published method uses a chain scrubber with the chain on the bike, and that’s enough indefinitely. You only need the chain off for a full strip to bare metal, which matters in exactly one case: you’re about to wax. Wax won’t bond to a chain with oil or factory grease on it, and on-the-bike cleaning won’t get you to bare metal.
Why do I have to wipe the lube off after applying it?
Because the only lube doing any work is the film inside the rollers, where the pins bear. Lube on the outside of the chain lubricates nothing and collects grit, and grit suspended in oil is grinding paste sitting on the part you were trying to protect. Park Tool’s reason for wiping is exactly that — to “prevent dirt from collecting on your chain”. A wet-looking chain is a chain that will be filthy next week.
Can I use petrol, white spirit or kerosene to degrease a chain?
People do, and we’re not going to give you a chemistry lecture we’re not qualified to give. What we’ll say is that Park Tool specifies a bicycle-specific degreaser formulated for the job, that solvents vary enormously in what they do to rubber seals and paint, and that petrol in a jar in a domestic garage is a fire risk with a poor risk-to-reward ratio for saving a few dollars. Buy the purpose-made stuff.
My chain is clean but still noisy. What's wrong?
Most likely it’s dry rather than dirty — cleaning removes lubricant along with the grime, and a chain that’s been degreased and not re-lubed is bare metal on bare metal. If it’s freshly lubed and still noisy, the next suspects are a worn chain (measure it), indexing that’s slightly out, or jockey wheels you cleaned around rather than cleaned. Noise is information; a chain in good order is close to silent.
Sources
- Park Tool — How to Clean and Lubricate a Chain (the scrubber procedure; "at least thirty revolutions"; "apply a small drop to each individual rivet"; wipe excess "to prevent dirt from collecting on your chain") — retrieved 2026-07-17
- Park Tool — The Park Tool Guide to Bicycle Lubricants and Compounds ("Do not regularly rely on penetrating oil for chain lubrication") — retrieved 2026-07-17
- Product formats and volumes — each product's own Amazon listing, via the Amazon Creators API — retrieved 2026-07-17
Read next
- How to store a bike
Do this before any long layup so nothing rusts.
- How to clean a bike
The whole-bike version, in the order that stops you cleaning twice.
- The best bike chain lube
What to put back on once it's clean.
- Wet vs dry chain lube
Decides whether you need level 2 or level 3.
- When to replace a bike chain
Measure before you scrub — it might be finished.
- Cassette and chainring guide
The expensive parts a clean chain protects.
We haven’t ridden or tested any of the products on this page, and we don’t pretend otherwise. Read how we research — or tell us we’re wrong and we’ll log the correction.