How to Fix a Flat
The tube swap is the easy half. The half that decides whether you're doing this again in ten minutes is finding out what caused it — and almost nobody tells you to look.
Heads up: we earn a commission if you buy through the links on this page, at no extra cost to you. It never decides what makes the list — here’s how that works.
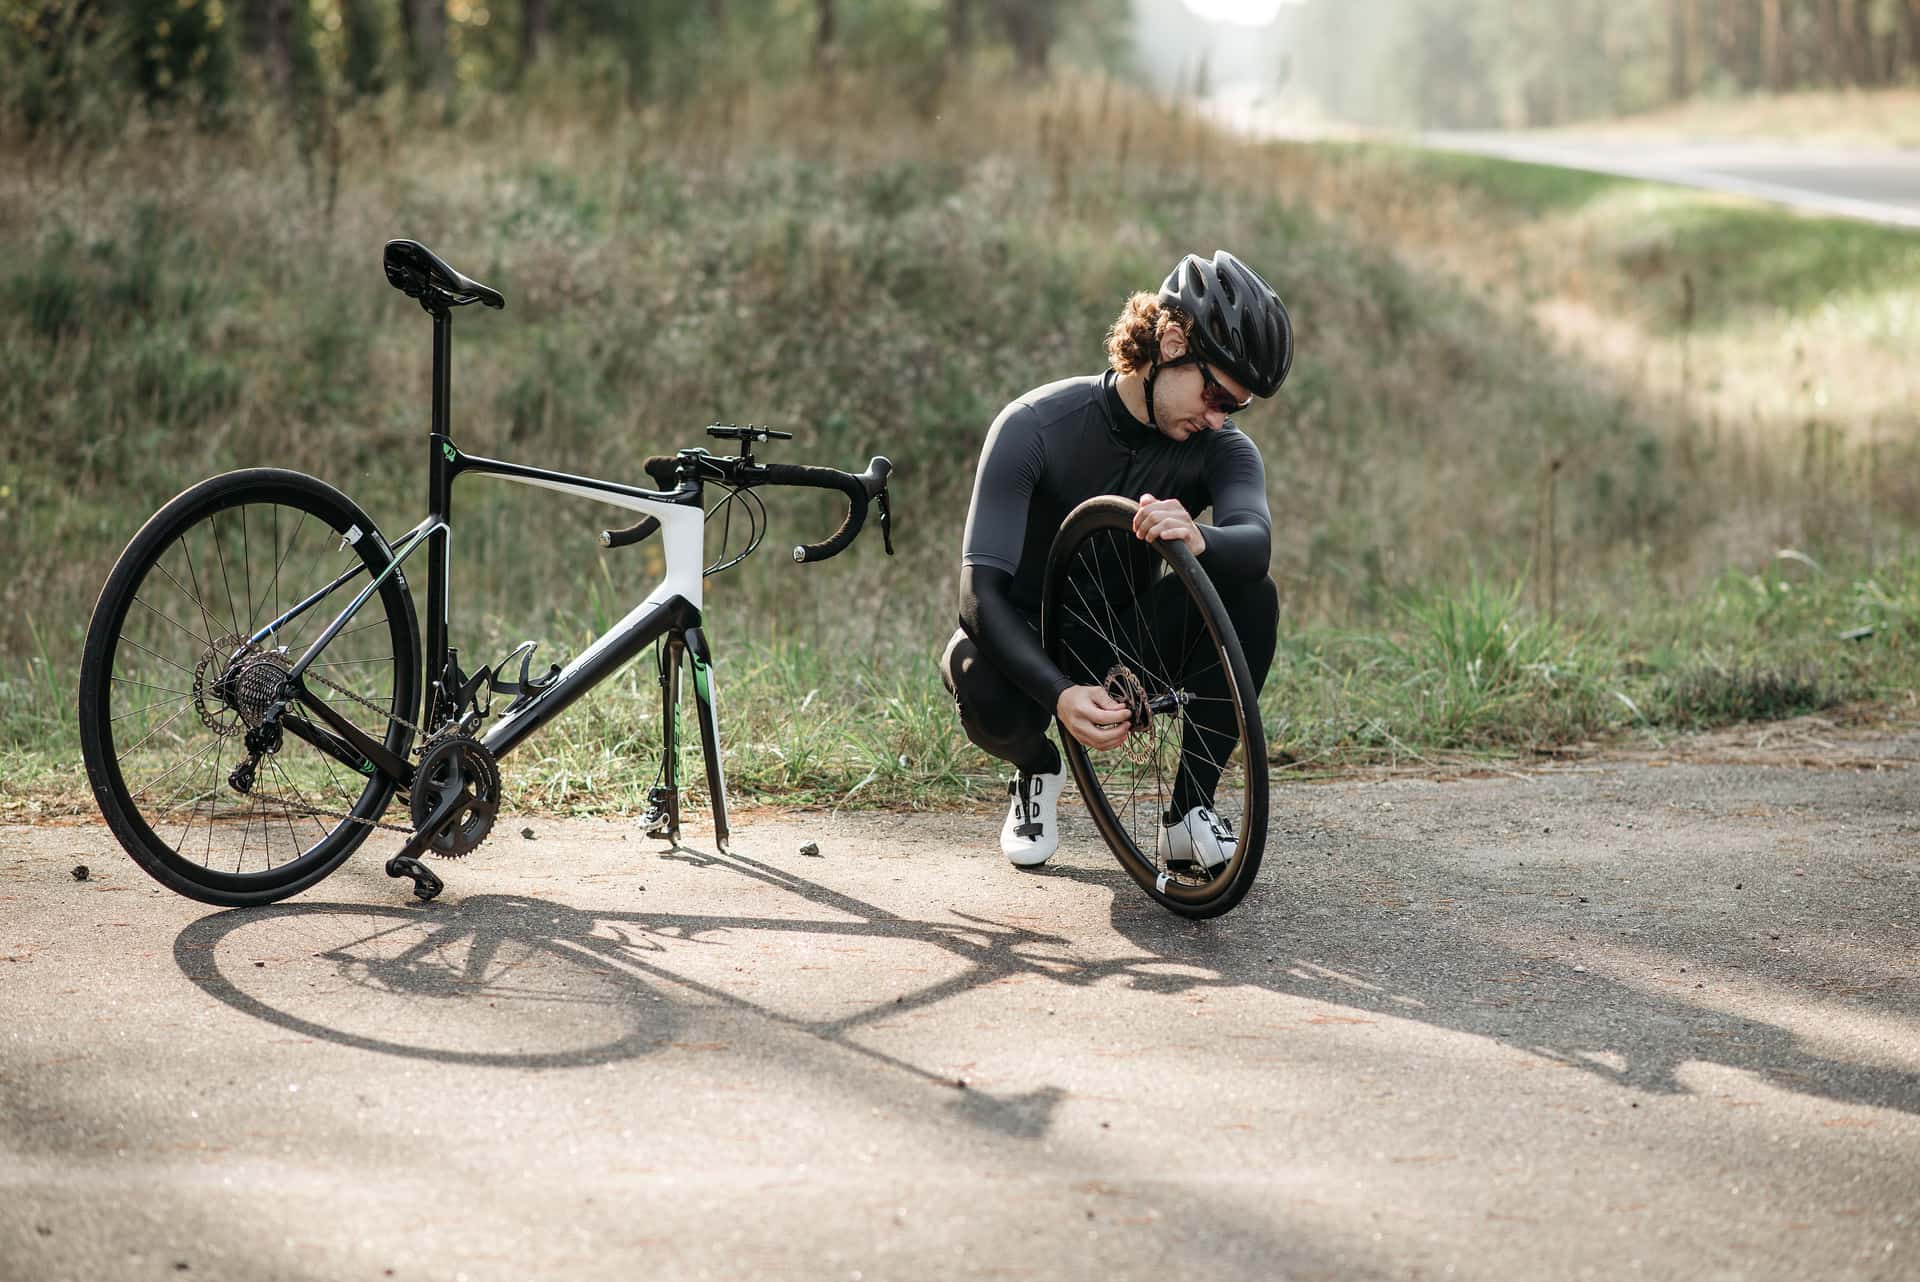
Fixing a flat is a ten-minute job that people dread because the first time they did it, it took forty minutes and they did it again two miles later. Both of those problems have the same cause, and it’s a single step that gets skipped: you have to find out what made the hole before you put a new tube in.
The procedure below is Park Tool’s published method, quoted where it matters. The notes about what goes wrong are Stephen’s, from doing this at the side of a road in poor weather more times than he’d like — he’s not a mechanic, but this is a job you learn by getting it wrong in the cold.
Before anything: what to carry
None of what follows works if the kit is at home. The minimum is boring and non-negotiable: a spare tube, two tire levers, and a pump.Add a patch kit if you ride far — it’s your second flat, and it weighs nothing.
Park Tool’s position on tube-versus-patch at the roadside is worth internalizing: “simply replacing the punctured inner tube with a new tube is always the safest and most reliable procedure”. Swap the tube at the road. Patch the punctured one at home, on a table, in the warm, where the glue can actually cure. Patching at the roadside is a skill you deploy when you’ve used your spare, not a first resort.
Check that your spare tube fits your valve holes and your rim depth.A tube with a 40mm valve stem on a 50mm deep rim is a tube you cannot inflate — the valve won’t protrude far enough for the pump head to grab. Stephen has made this exact mistake, at distance, with a perfectly good spare tube in his pocket. Check the tube you carry against the wheel you carry it on, once, at home. The full kit list, ranked by what happens if each item is missing, is in what to carry on a bike ride.
The roadside kit
The list above, as things you can actually buy. Nothing here is ranked — it is the minimum kit the procedure below assumes you have in your jersey pocket. The pump is the one item worth spending on, and it has its own comparison further down this page.
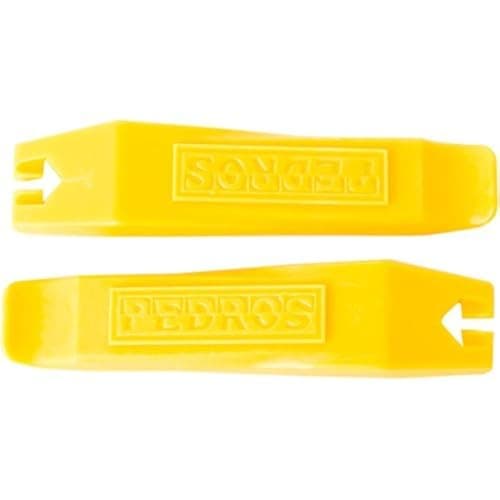
Pedro's Tire Levers
Two, not one. Levering with a single lever is how you snap it and how you pinch the new tube.
$8.50 · View on Amazon$9.99 −15%
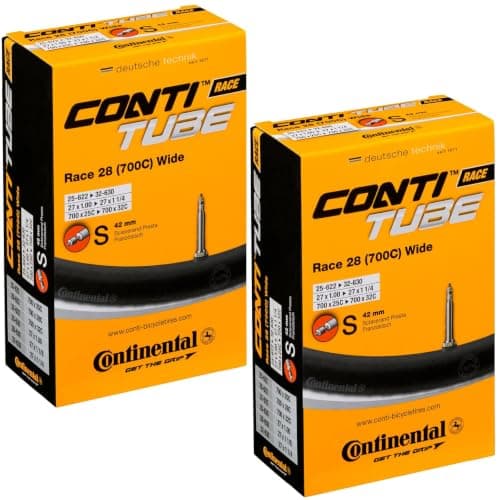
Continental Race 28 Inner Tube
The listing states 700x25-32c with a 42mm Presta stem. Check that against your own rim depth before you buy — see the paragraph above.
$16.85 · View on Amazon$17.90 −6%
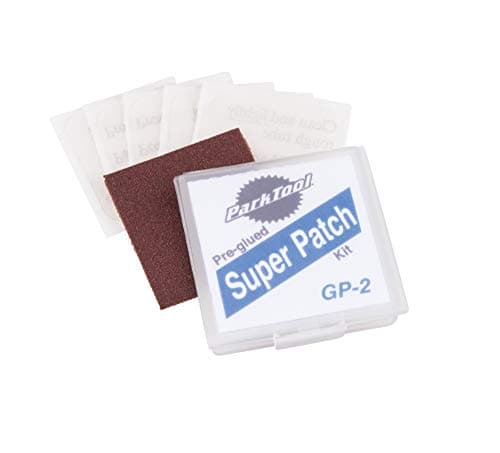
Park Tool GP-2 Super Patch Kit
Self-adhesive patches for your second flat. It weighs nothing, so there is no argument for leaving it at home.
Check price on Amazon →No buyable offer right now — the link still shows the current listing.
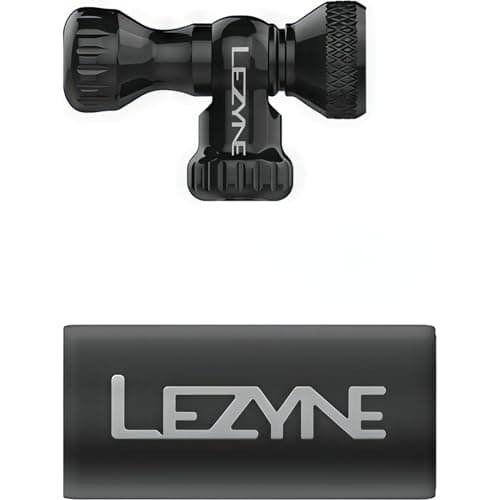
Lezyne Control Drive CO2 Inflator
Fast and finite. Carry it as well as a pump, not instead of one — see the mini pump vs CO2 note below.
We haven’t tested any of these — they’re the parts the job above calls for, listed so you don’t have to go hunting. Prices are live from Amazon and we earn a commission if you buy. Prices as of October 17, 2026. #ad
The procedure
1. Get the wheel off and deflate completely
Rear wheel: shift onto the smallest cog first — it slackens the derailleur and makes the wheel drop out and go back in far more easily. Then open the brake or the quick release, and out it comes.
Then deflate it properly. Park Tool: “Deflate tire completely. Even a small amount of air left in the tube can make it more difficult to get the tire off.” This is the step that turns ten minutes into forty. If the tire is fighting you, there is almost certainly still air in it.
2. Break the bead and lever one side off
Before reaching for the levers, push the bead inward all the way round with your thumbs. The rim has a deeper channel in the middle, and dropping the bead into it buys you slack — sometimes enough to get the tire off without levers at all.
Then, per Park Tool: “Engage one tire lever under bead of tire. Engage second lever 1-2″ (25-50mm) from first lever then pull both levers toward spokes to lift bead off rim.” Note the spacing — 1 to 2 inches apart. Levers spread further apart than that are fighting the tire’s tension instead of using it, which is why the tire won’t come and why the lever snaps.
One side only. You never need the second bead off to change a tube, and taking it off doubles the work of putting it back.
3. Pull the tube out — and don’t lose track of where it sat
Push the valve up through the rim and draw the tube out. Keep it oriented. You are about to use the position of the hole in the tube to find the cause in the tire, and that only works if you know which part of the tube was sitting where.
4. The step everyone skips: find the cause
This is the actual guide. Everything else is mechanical.
Find the hole in the tube — inflate it slightly and listen, or run it past your lip, which is far more sensitive than fingers. Then read it:
- Two small holes side by side, on the rim side of the tube: a pinch flat. The rim squeezed the tube against an edge — you hit something hard at too low a pressure. Nothing is stuck in your tire. Fix the pressure, not the tire. This is the failure mode tubeless deletes entirely.
- One hole on the outside (the tread side): something went through the tire and is very possibly still in it. Go and find it.
- A hole on the rim side, on its own: suspect the rim tape. If the tape has shifted and exposed a spoke hole, the tube is being pushed into a hole by its own pressure, and no new tube will survive it either.
- A split around the valve base: usually the tube was installed with the valve at an angle or ridden badly under-inflated. Fit the new one carefully and straight.
Then inspect the tire, in Park Tool’s words: “Visually inspect inside of tire casing for nails, glass or debris. Wipe inside of casing with a rag, and then carefully feel inside with fingers.” Go all the way round. Use the hole in the tube to know where to look hardest.
Stephen’s note:do this carefully — a shard of glass will slice a fingertip as happily as it sliced the tube. Go slowly, with light pressure. And do it even when you’re cold and it’s raining and you just want to be riding, because the alternative is doing the whole job again in ten minutes with your last tube already used. He has learned this the expensive way, which is walking.
5. Fit the new tube
- Put a little air in it first. Park Tool: “Inflate tube enough for tube to just hold its shape.”This is the single best trick in the job. A tube with a breath of air in it holds a round shape, sits where you put it, and is dramatically harder to trap under the bead. A flat tube is a flat ribbon that folds and hides exactly where you’re about to lever.
- Valve first, straight through the hole. Push it up perpendicular to the rim, not at an angle.
- Feed the rest of the tube into the tire all the way round, tucking it up inside the casing.
- Work the bead back on with your thumbs, starting at the valve and working both ways round to finish opposite it. Push the bead into the rim’s center channel as you go — that’s where the slack is, and it’s why the last section is always the hard one.
- Avoid levers if you possibly can. If you must, Park Tool warns: “Use care when using tire levers to avoid pinching inner tube.” A lever on the final section is the classic way to put a brand-new hole in a brand-new tube and discover it at 60psi.
6. Check the bead before you inflate properly
Do not just pump it up. Push the valve up into the tire and pull it back down — that frees any tube trapped under the bead at the valve, which is where it always is.
Then put a little air in and look. Park Tool: “Inflate to low pressure and inspect bead again on both sides. Look for small molding line above bead. This line should run consistently above rim.” That molding line is a machined-in straightness gauge, and reading it is a genuinely useful skill. It should be an even distance from the rim the whole way round. Where it dives under or bulges up, the tire isn’t seated.
Park Tool’s warning on that is emphatic: “This bead seat line is bulging upward from improper tire seating. Deflate immediately and reseat tire.” Immediately. An unseated tire at full pressure can blow off the rim, and it is loud, sudden and can happen at speed.
7. Inflate, and reinstall
Up to pressure — “Inflate to full pressure and check with pressure gauge”, though at the roadside you have a mini pump and a thumb, and the thumb is what you’ve got. Park Tool also notes something that catches people out with Presta valves: “It may be necessary to press downward above the valve in order to engage the pump head.” Support the valve with your other hand while you pump — an unsupported Presta stem levered sideways by a mini pump is how you tear the valve out of a tube you just fitted.
Wheel back in, brake done up, quick release properly closed. Check the wheel spins straight and the brake isn’t rubbing before you get back on. Then top it up properly at home with a floor pump — the Topeak JoeBlow’s listing publishes a 160 PSI ceiling and a 3in analog gauge, which is the real difference: a gauge you can read, and pressure you didn’t have to earn. Getting the pressure right afterwards matters more than most people think — our tire pressure guidecovers what it’s costing you.
If you’re running tubeless
Mostly, you don’t do any of this — the sealant handles it while you keep riding, which is the entire point. When it doesn’t, the procedure above is exactly what you fall back to: take the valve out, fit a tube, and finish the ride with latex on your hands.
Park Tool’s published position is blunt — “in general, punctures in tubeless tires cannot be repaired”, with vulcanizing patches viable only on UST and butyl-lined tubeless tires. So the tube in your pocket is not optional just because you converted. Tubeless vs tubes has the honest version of that trade-off.
What the pumps actually publish
Two of these go in a jersey pocket; one lives in your garage and is the reason the other two rarely get used. Note the middle row — it’s a well-regarded pump whose listing publishes no pressure rating, no valve compatibility and no mount. That’s not a criticism of the pump. It’s a limit on what anyone quoting the listing can honestly tell you.
| Pump | Max pressure | Valves | Mounting / gauge | Live price |
|---|---|---|---|---|
| Lezyne Pressure Drive Mini Pump | 120 PSI | Presta & Schrader | Frame mount included | $54.99 |
| Topeak Race Rocket Mini Pump | Not published | Not published | Not published | $37.66 |
| Topeak JoeBlow Sport Floor Pump | 160 PSI | Presta, Schrader & Dunlop | Floor pump — 3in analog gauge | $69.95 |
Every figure quoted from the product’s own Amazon listing, read 17 July 2026. Prices are live as of October 17, 2026. “Not published” means the seller doesn’t say, not that the pump can’t do it — and a max-pressure rating is a claim about the pump’s ceiling, not a promise about how pleasant reaching it will be. No mini pump on earth makes 100psi feel good.
What actually decides this purchase
Two levers, not one.Park Tool’s method uses two, 1-2 inches apart, and levering with one is how you snap a lever and how you pinch a tube. They cost almost nothing and weigh almost nothing — a two-pack like Pedro’s is the whole outlay.
Mini pump or CO2? A mini pump like the Lezyne Pressure Drive— listing-published 120 PSI, Presta and Schrader, frame mount included — never runs out and is therefore never the reason you’re walking. CO2 is faster and finite — an inflator like the Lezyne Control Drive is a cartridge head, and when the cartridges are gone they are gone. The failure mode of a pump is a tired arm; the failure mode of CO2 is a second puncture. If you only own one, own the pump.
Check what the listing actually publishes. The Topeak Race Rocketis a well-regarded mini pump whose Amazon listing publishes no pressure rating, no valve compatibility and no weight. It may be excellent. We can only tell you what’s in writing, and for this one that’s a name and a color.
A max-pressure number is a ceiling, not a promise.A mini pump rated to 120 PSI will reach 120 PSI in the way that a treadmill will reach 20km/h — technically, with your full cooperation. Rated pressure tells you the pump won’t fail, not that you’ll enjoy the last 30psi.
Match the valve stem to the rim, at home, before you need it.Deep rims need long stems. This is the cheapest possible mistake to avoid and the most annoying one to discover 30 miles out. Which tube, and which valve length, comes down to two numbers on your tire sidewall — the inner tube roundup works through them.
Buy a floor pump for the garage.It’s the pump that gets used, it has a gauge you can read, and correct pressure is the main defense against the pinch flat that put you here in the first place.
Common questions
Should I patch the tube or replace it at the roadside?
Replace it. Park Tool’s published position is that replacing the punctured tube with a new one is “always the safest and most reliable procedure”. Patch glue wants time and a clean dry surface, and a verge in the rain offers neither. Carry the patch kit as your insurance against a second flat, then patch the punctured tube at home on a table — a properly done patch is permanent, and that tube becomes your next spare.
How do I know what caused the puncture?
Read the hole. Two small holes side by side on the rim side is a pinch flat — you hit something at too low a pressure, and nothing is stuck in the tire. A single hole on the tread side means something went through and may still be in there. A lone hole on the rim side points at rim tape that’s shifted off a spoke hole. Then inspect the casing the way Park Tool describes: look, wipe with a rag, and carefully feel inside with your fingers.
Why did my new tube go flat immediately?
Almost always one of three things. The cause of the first flat is still in the tire, because the casing didn’t get inspected. You pinched the new tube under the bead while levering it on — which is why Park Tool says to inflate the tube just enough to hold its shape first. Or the rim tape has moved and is exposing a spoke hole, in which case every tube you fit will fail in the same spot until you fix the tape.
Do I need to take the tire completely off the rim?
No — one bead only. Levering the second side off doubles the work of putting it back on and achieves nothing for a tube change. You need one side free to get the old tube out, inspect the inside of the casing, and feed the new one in. Leave the other bead seated.
Do I still need to carry a tube if I run tubeless?
Yes. Sealant seals small holes, and Park Tool’s published position is that punctures in tubeless tires generally cannot be repaired — so once a cut is beyond what the sealant can plug, the only way home is fitting a tube. Tubeless massively reduces how often you’ll need it. It does not let you leave it at home.
Sources
- Park Tool — Tire and Tube Removal and Installation ("Deflate tire completely"; levers "1-2in (25-50mm)" apart; inspect casing for "nails, glass or debris"; "Inflate tube enough for tube to just hold its shape"; the molding line check and "Deflate immediately and reseat tire") — retrieved 2026-07-17
- Park Tool — Tubeless Tire Mounting and Repair ("in general, punctures in tubeless tires cannot be repaired") — retrieved 2026-07-17
- Pump pressure ratings, valve compatibility and gauge sizes — each product's own Amazon listing, via the Amazon Creators API — retrieved 2026-07-17
Read next
- Floor pump vs mini pump
Which pump does which job, and why you own two.
- The best saddle bags
Where the kit above lives when you are not using it.
- What to carry on a bike ride
The six items, ranked by what happens if you don't have them.
- Tubeless vs tubes
Deletes the pinch flat, adds a maintenance schedule.
- Road bike tire pressure guide
The main defense against doing this again.
- The best bike multitool
The other thing in your saddlebag that matters.
- The best gravel bike tires
Where punctures are a fact of life, not an event.
We haven’t ridden or tested any of the products on this page, and we don’t pretend otherwise. Read how we research — or tell us we’re wrong and we’ll log the correction.