How to Adjust a Front Derailleur
Four adjustments, one order. Almost every front derailleur that will not shift is a height or a limit problem being attacked with cable tension.
Heads up: we earn a commission if you buy through the links on this page, at no extra cost to you. It never decides what makes the list — here’s how that works.
A front derailleur is a chain-pusher with no intelligence at all.It has a cage, and the cage moves sideways between two stops you set yourself. That is the entire mechanism — which is why the failure modes are so consistent, and why the fix is nearly always in the same four places, done in the same order: height, rotation, limit screws, cable tension.
The single most common way a home adjustment goes wrong is reaching for the barrel adjuster first. Cable tension is the last adjustment for a reason: it can only position the cage between the two limits you have already set, and if the cage is sitting three millimeters too high or rotated a few degrees off the chainrings, no amount of tension will make it shift cleanly. Set the mechanical geometry, then the stops, then the cable.
Before you touch anything: is the chain the problem?
Front shifting degrades with a worn chain and worn chainring teeth, and no adjustment recovers a drivetrain that is simply finished. If the bike drops the chain under load, hesitates for two or three revolutions before climbing, or has done this since the last time it shifted well, check wear first — our guide on when to replace a bike chain covers the 0.5% and 0.75% thresholds and how to read a checker. If the chain is fine, carry on.
What the job needs
Nothing here is ranked; this is the tool list the procedure below assumes. You can do the whole adjustment with a hex key and a screwdriver — the torque wrench matters because the clamp bolt has a published spec of 5–7 N·m and a crushed seat tube is not a repair, and the stand matters because you need both hands free while the cranks turn.

PRO BIKE TOOL Torque Wrench Set
Covers the clamp-bolt spec: the listing states a 2.2–16.9 N·m range, and Shimano specifies 5–7 N·m for the front derailleur clamp.
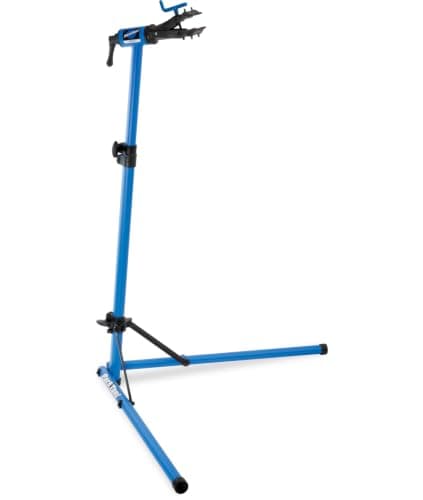
Park Tool PCS-9.3
You need the rear wheel turning and both hands on the derailleur. A stand is what makes the cable-tension step a two-minute job instead of a floor-level contortion.
We haven’t tested any of these — they’re the parts the job above calls for, listed so you don’t have to go hunting. Prices are live from Amazon and we earn a commission if you buy. Prices as of October 18, 2026. #ad
Step 1 — Height, and the one place two authorities disagree
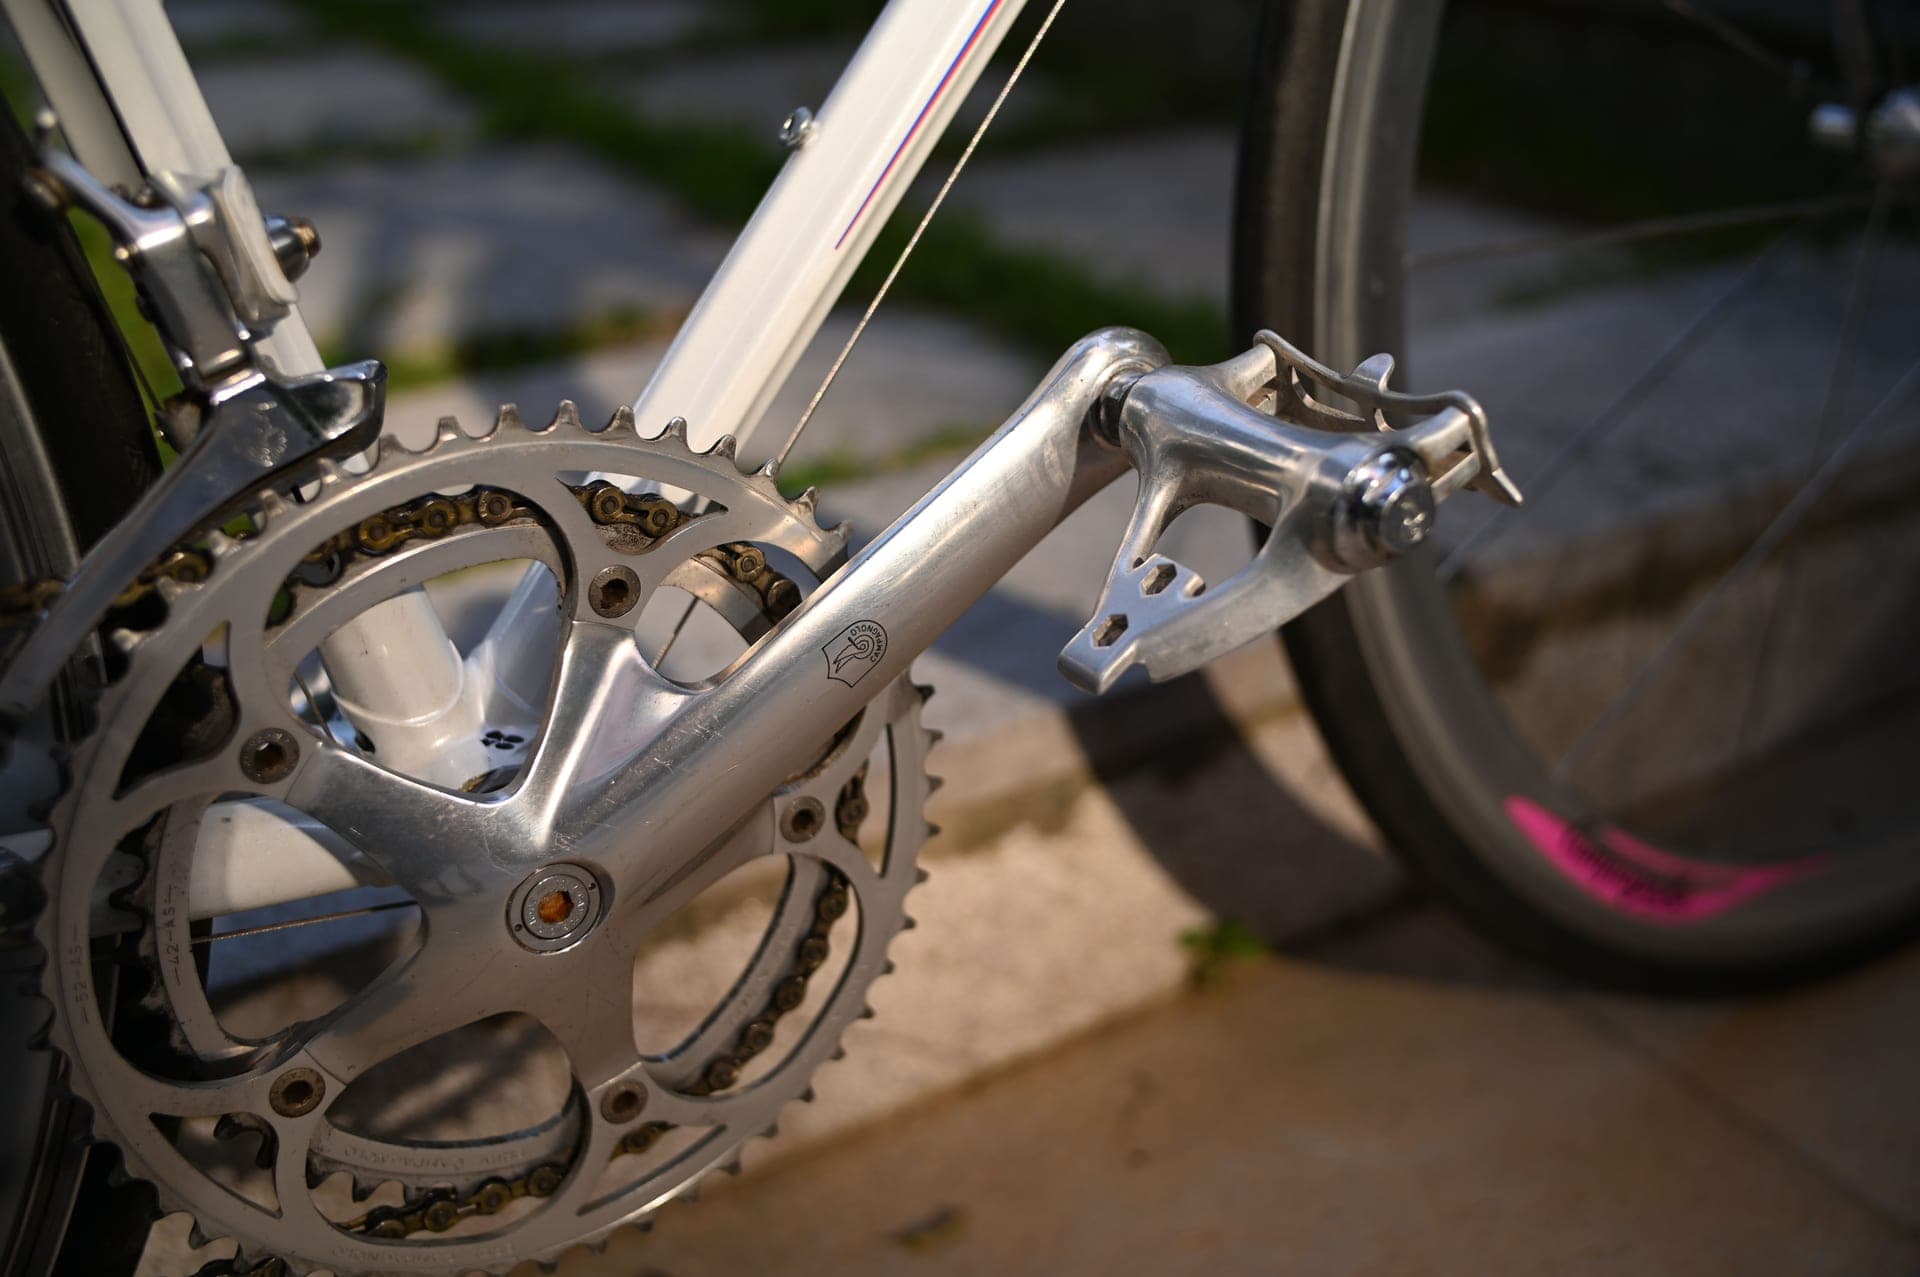
With the chain on the small ring and all cable tension released, the outer cage plate should sit just above the teeth of the largest chainring. Shimano’s dealer’s manuals specify a clearance of 1–3 mm between the chain guide outer plate and the largest chainring. Park Tool’s repair-help article calls for 1–2 mm, “about the thickness of a penny”, and elsewhere describes clearing the largest ring by 2–3 mm.
We are not going to pretend those are the same number, because they are not, and the honest reading is useful: the workable window is roughly 1–3 mm, and within it, lower shifts better while higher is safer against chain rub and cage-to-tooth contact. Start at the middle of the range. If the chain hesitates climbing to the big ring, come down; if the cage kisses the ring teeth, go up. The penny trick is a good field check because a US cent is about 1.5 mm thick — conveniently near the bottom of Shimano’s range.
To change height, release the cable, loosen the clamp bolt, slide the derailleur, and — this is the part people skip — restore the same rotation before you retighten. Height and rotation move together on a clamp-band derailleur, so you set them together.
Step 2 — Rotation
Looking down from above, the outer cage plate should be parallel to the chainrings. Not “roughly”: parallel. A cage rotated outward at the back drops the chain off the big ring on the way down; a cage rotated inward drags the chain against the inside plate in the small ring. The visual reference is the chainring itself, and the check is done from directly above the bike with the drivetrain in view.
When the height and rotation are both right, tighten the clamp bolt to Shimano’s published 5–7 N·m. That is a real number with a real consequence: it clamps a thin-wall frame tube, and the difference between snug and crushed is not something a hand can feel. If you own one torque tool for the whole bike, this is one of the jobs that justifies it — see our bike bolt torque guide.
Step 3 — The low limit (L)
Shift to the small chainring at the front and the largest sprocket at the rear — the most extreme inboard position the chain will ever take. The L screw sets how far the cage can travel inward. Shimano’s specification is unambiguous: adjust the clearance between the chain guide inner plate and the chain to 0–0.5 mm. That is a hair, not a gap. Turning the screw clockwise moves the cage away from the frame; counterclockwise lets it in. Park Tool’s convention for remembering which screw is which is worth keeping: the L screw stops the motion toward the smallest chainring, the H screw stops the motion toward the largest.
Step 4 — Cable tension
Only now does the cable come into it. With the shifter at its lowest position, pull the inner wire taut by hand and clamp it. Then shift up and down through the range and use the barrel adjuster in small increments — a quarter-turn at a time — until the chain lifts to the big ring promptly and drops back without hesitation. Counterclockwise adds tension.
If the chain will not climb no matter how much tension you add, stop adding tension. That is the classic symptom of a height or rotation problem, and you are now fighting the cage’s geometry with a cable. Go back to steps 1 and 2.
Step 5 — The high limit (H), and trim
Now shift to the big ring and the smallest sprocket. The H screw sets the outer stop, and Shimano specifies the mirror image of the low setting: 0–0.5 mm between the outer cage plate and the chain. Too much and the chain can throw itself over the top of the ring under a hard shift; too little and it will not make the jump at all.
Then there is trim, which is not a fault and confuses a lot of riders. On a 2× drivetrain, a half-click on the front shifter nudges the cage sideways without changing rings — it exists precisely so you can silence chain rub in the extreme cross-gears without shifting. Rub in big-ring/big-sprocket that disappears with a trim click is normal. Rub that trim cannot clear is a limit or a height problem. If you are wondering whether the front derailleur is worth keeping at all, that is a fair question with a real answer — see 1× vs 2× drivetrains.
When adjustment is not the answer
Three situations are not adjustable. A bent cage, usually from a chain drop wedged between ring and frame, cannot be set parallel because it is no longer flat. A worn chainring with hooked or shark-finned teeth will keep dropping the chain at any setting. And a mismatched derailleur— a road front mech asked to shift a chainring set it was never designed for, or a cage designed around a different chainring size difference — will never be right, because the cage profile is designed around a specific tooth-count jump. Park Tool’s advanced troubleshooting article is the best public reference for diagnosing these before you spend an evening on the barrel adjuster.
If you arrived here because the chain is coming off rather than shifting badly, start with the diagnosis instead of the procedure: why does my bike chain keep falling off sorts it by which direction the chain went, which decides whether it is the L-screw, the H-screw or something that is not the front derailleur at all.
Finally, the sibling job: the rear derailleur uses the same L/H vocabulary but a completely different indexing logic, and it is where most shifting complaints actually live. That one has its own page — how to adjust a rear derailleur.
The published numbers, and where they came from
Every figure below is a manufacturer’s or a tool maker’s published specification, read on 18 August 2026 and linked in the sources. Nothing here is our measurement, and where two sources disagree the table says so rather than picking a winner.
| Adjustment | Published spec | Source | What goes wrong if it is off |
|---|---|---|---|
| Cage height over big ring | 1–3 mm | Shimano dealer's manual | Too high: slow, reluctant upshifts. Too low: cage strikes the ring teeth |
| Cage height (alternative) | 1–2 mm, “thickness of a penny” | Park Tool | The two published ranges overlap at 1–2 mm; that overlap is the safe target |
| Cage rotation | Outer plate parallel to chainrings | Park Tool | Chain drops off the big ring, or rubs constantly in the small |
| Low limit (L) | 0–0.5 mm, inner plate to chain | Shimano dealer's manual | Too tight: constant rub. Too loose: chain drops inboard into the frame |
| High limit (H) | 0–0.5 mm, outer plate to chain | Shimano dealer's manual | Too tight: will not reach the big ring. Too loose: chain thrown over the top |
| Clamp bolt torque | 5–7 N·m | Shimano dealer's manual | Under: the mech rotates under load. Over: a crushed frame tube |
Read the table top to bottom — that is also the order the job is done in. Cable tension does not appear because it has no published number: it is set by result, after everything above it is right.
Common questions
Why won't my chain shift up to the big ring?
In order of likelihood: the cage is too high above the big ring, the high limit screw is stopping it short, or the cable is slack. Check them in that order — Shimano specifies 1–3 mm of cage clearance over the largest ring and 0–0.5 mm between the outer plate and the chain at full travel. Adding cable tension to fix a height problem is the most common wasted evening in home bike maintenance.
How do I stop the chain rubbing the front derailleur?
Work out first whether it is cross-chain rub, which is normal. On a 2× drivetrain the front shifter has a trim position — a half-click that moves the cage without changing rings — and it exists to clear exactly this. If a trim click silences it, nothing is wrong. If it persists in a normal gear, the limit screw on that side is too tight or the cage is rotated.
Which screw is L and which is H?
They are stamped on the derailleur body. Park Tool’s definition is the one to memorize: the L screw stops the cage’s motion toward the smallest chainring, and the H screw stops its motion toward the largest. On most front derailleurs the L screw is the one nearer the frame. Turning either screw clockwise reduces travel in its direction.
How tight should the front derailleur clamp bolt be?
Shimano’s dealer’s manuals specify 5–7 N·m for the clamp bolt. That is low enough that a full-size hex key and an enthusiastic arm can overshoot it badly, and the thing being clamped is a frame tube. This bolt, seatpost clamps and stem faceplates are the three places a torque tool earns its price on a home bike.
Do I need to adjust the front derailleur after fitting a new chain?
Usually not the limits, but check them. A new chain is fractionally shorter and sits slightly differently in the cage, and if the drivetrain was shifting around a worn chain the new one may expose a setting that was compensating for it. Run through the trim positions and the two extreme cross-gears before the first ride.
Sources
- Shimano — Dealer's Manual, front derailleur (DM-RAFD001): clearance between the chain guide outer plate and the largest chainring 1–3 mm; clamp bolt tightening torque 5–7 N·m — retrieved 2026-08-18
- Shimano — Dealer's Manual DM-FD0002 (FD-9000 / FD-6800 / FD-5800): low adjustment sets the clearance between the chain guide inner plate and the chain to 0–0.5 mm; top adjustment sets the outer plate to chain clearance to 0–0.5 mm — retrieved 2026-08-18
- Park Tool — Front Derailleur Adjustment (gap between the teeth of the outer chainring and the lower edge of the outer cage plate should be 1–2 mm, "about the thickness of a penny"; the L screw stops motion toward the smallest chainring, the H screw toward the largest; height and rotation are set together with the clamp bolt loose) — retrieved 2026-08-18
- Park Tool — Front Derailleur Advanced Troubleshooting (bent cages, worn rings and mismatched mechs as non-adjustable faults) — retrieved 2026-08-18
Read next
- How to adjust a rear derailleur
The other half of the job, and the one with indexing in it.
- Why does my bike chain keep falling off?
Diagnose it by direction before you start turning screws.
- 1x vs 2x drivetrains
The case for deleting the front derailleur entirely.
- Bike bolt torque guide
Where the 5–7 N·m clamp spec sits among the rest of the bike's numbers.
- When to replace a bike chain
Check this before you blame the adjustment.
We haven’t ridden or tested any of the products on this page, and we don’t pretend otherwise. Read how we research — or tell us we’re wrong and we’ll log the correction.