How to Wrap Bar Tape
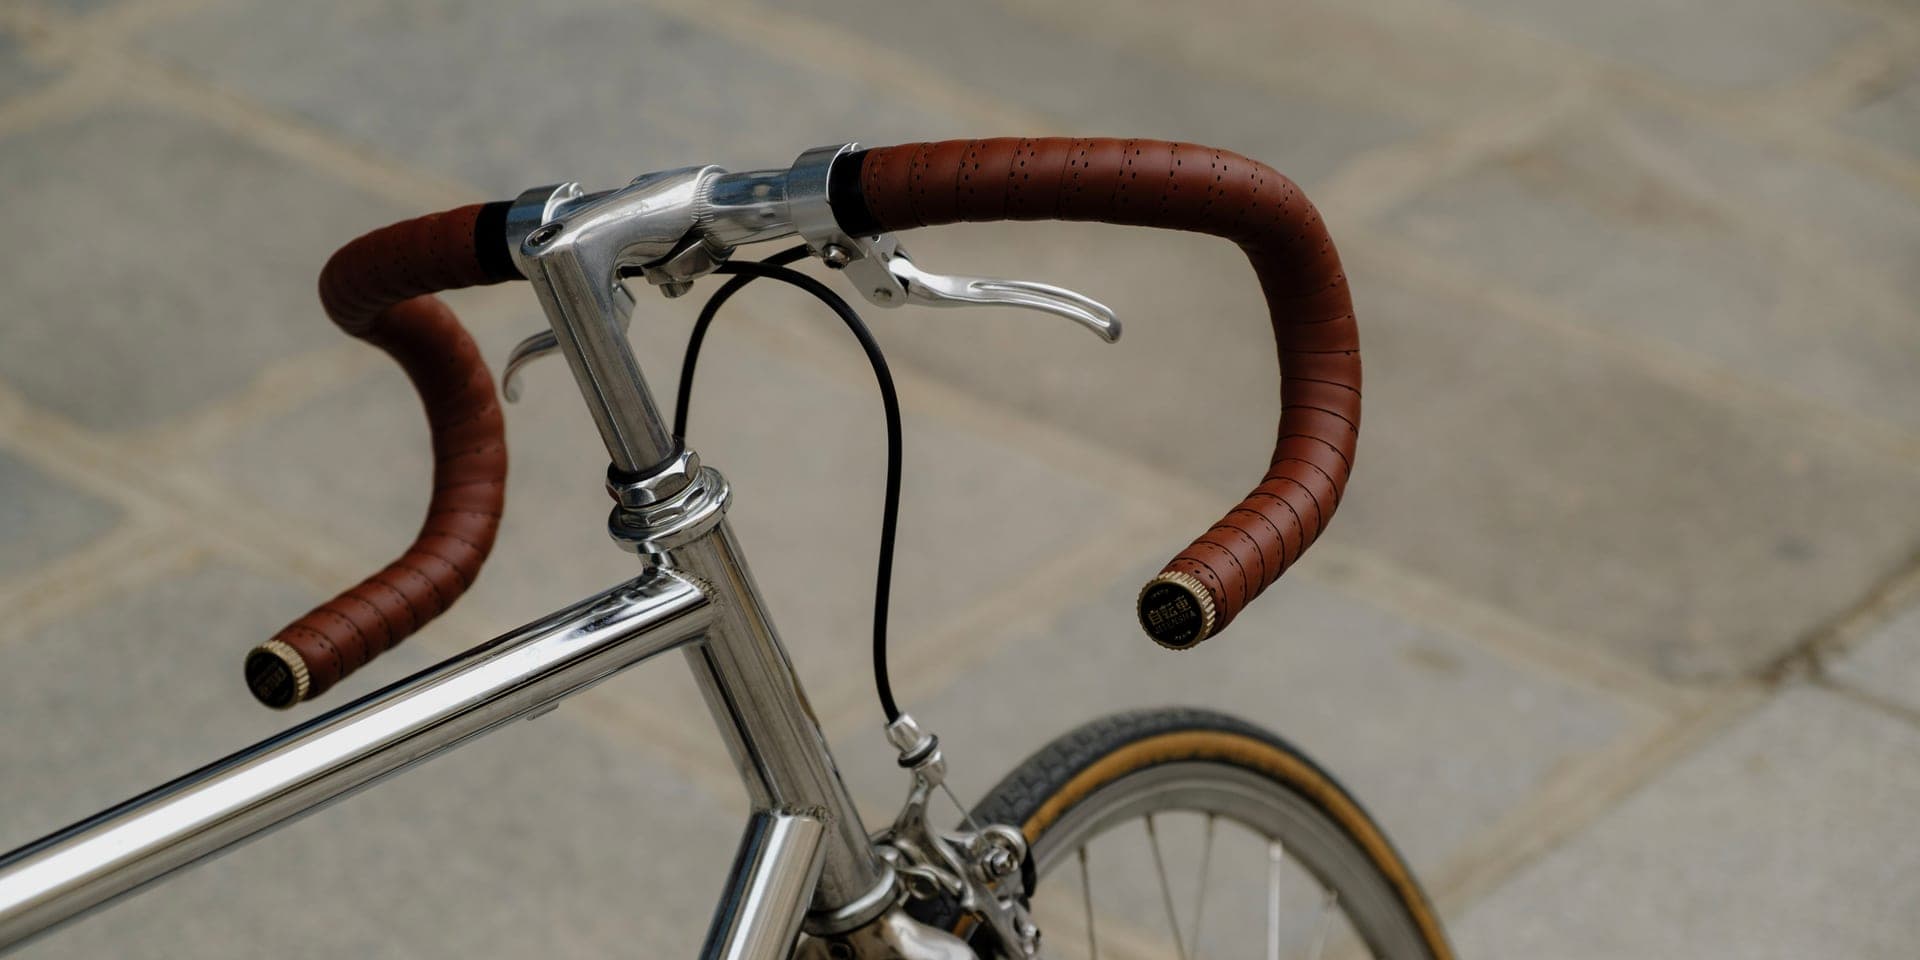
Start at the bar end and work up. Wrap the right side clockwise and the left counter-clockwise, because that is the direction your hands load the tape. Then reverse above the levers — which is the step almost nobody mentions.
Heads up: we earn a commission if you buy through the links on this page, at no extra cost to you. It never decides what makes the list — here’s how that works.
Start at the end of the bar and work upwards. Wrap the right side clockwise and the left side counter-clockwise, overlap so roughly half the tape width sits on bare bar, keep constant tension, and reverse the direction of wrap once you are above the levers. Every one of those instructions is Park Tool’s, from its published Handlebar Tape Installation article for drop bars, and the last one is the part most guides leave out entirely.
Two of those points are worth flagging because they contradict what you will hear in a bike shop. The overlap figure Park Tool publishes for non-adhesive tape is about half the tape on the bar, not the one-third that gets repeated everywhere. And the figure-of-eight at the brake lever — which is one of the autocomplete completions for this query — is described by Park Tool as a technique from “a time when bar tape was relatively thin” which “can leave a large bulbous mass at the lever”. There is a better method, and it is below.
Direction, and the published reason for it
This is the only part of the job with a stated mechanical justification, so it is worth getting right. Park Tool’s reasoning is about which way your hands twist the bar:
“During stressful riding, the rider’s hands tend to apply a torque to the bars. Matching the direction of wrap helps minimize loosening of the tape. As seen from the back (the rider’s point of view), the stress is outward on each side of the drops. Consequently, the right side should be wrapped in a clockwise direction while the left side should be counter-clockwise.”
And then the part that surprises people. On the tops of the bar, your hands load the tape the other way:
“However, when riding on the tops of the bars, it is the habit of many cyclists to pull back on their hands while under stress. To match this torque, the direction of wrap will need to be reversed above the levers.”
So a correct wrap changes direction at the lever. That is not a flourish — it is the reason one of the three lever techniques below is better than the others, because reversing the rotation is a side effect of wrapping over the inside of the lever body.
Park Tool also gives the general rule plainly: “Starting at the top of the bars and working downward will result in rolling the edge of the tape down as the user presses on it during riding.” Hence bar end upwards, always.
Preparation, which is most of the job
Park Tool’s own tool list for this is short: a handlebar holder if you have one, scissors and a sharp knife or razor blade, thin adhesive tape to secure the housing to the bar, and coloured PVC or electrical tape to finish. Then:
- Inspect as you strip.Park Tool notes that adhesive padded tapes “may leave lumps as they are removed, and these should be cleaned off”.
- Secure the cables. Housing and cables usually run under the tape; use electrical tape or narrow fibre-tape strips to hold them in place. A cable that wanders becomes a permanent ridge under the new wrap.
- Test the tape’s tensile strength first.This is a genuinely useful tip and it is Park Tool’s: brands vary in how they stretch and how they break, so “grab at the end and pull on a short section to get a sense of the tensile strength” before you are mid-wrap with one hand committed.
- Pre-cut the finishing tape to 8–10 inches (20–25 cm) and stick the ends to the top tube where you can reach them one-handed.
- Decide where you will finish before you start. Some bars have an obvious sleeve in the middle to end at; some taper with no natural stopping point, in which case the decision is how much tape you want for comfort on the tops.
- Pull each hood forward to expose the lever body. You wrap under the hood, not over it.
Starting at the bar end
Start at the bottom sideof the bar end and extend one wrap past the end of the bar. Pull with tension and wrap three or four times as you move up the bar, then tuck the overhanging tape into the bar end and insert the plug. Park Tool is explicit that you should stop here and check: “Inspect that the plug is tight and the tape looks tidy. Correct as needed before proceeding.”
If your plugs are the expanding kind, there is a cleaner option Park Tool offers as an advanced technique: fit the plugs first, then cut a taper on the starting end of the tape so the wrap begins smoothly rather than with a lump of folded tape.
Overlap and tension
For non-adhesive tape, Park Tool publishes: “overlap so approximately half the tape is on bar”. For tape with an adhesive strip— the strip runs down the middle of the tape — overlap so that the adhesive lands on bare handlebar just past the previous wrap, which is a different and more specific instruction than a fraction.
On tension: pull as you wrap, “using care not to apply too much force, breaking the tape”. Cloth tape in particular may need working smooth — pulling and backing up until it lies down properly — and Park Tool singles out the corners as where that matters. Watch the outside of the drop bend, which is where gaps appear, because the tape has further to travel there.
The brake lever — three techniques, ranked by the source
Park Tool describes three, and they are not equivalent:
- Simply extend the wrap past the lever body.Easiest. Leaves a small visual gap, and — the real objection — “will result in a less desirable rotation direction of the wrap along the top of the bars”, because it does not reverse the direction.
- Wrap over the inside of the lever body to reverse direction. This is the one to use. Going over the inside of the body flips the rotation so the tape above the lever runs front-to-back, which is the direction that matches how your hands load the tops.
- The figure-of-eight.Park Tool’s own framing: it “comes from a time when bar tape was relatively thin”, uses more tape length, and “can leave a large bulbous mass at the lever”. It is the method people search for and the method the source recommends least.
Whichever you use, the small extra piece of tape included in many kits is the thing that covers the bar at the lever strap. With the hood pulled forward, place that end-piece over the back of the lever, wrap up and around both the small piece and the lever, then add one or two wraps past it. Fold the hoods back and look for gaps — Park Tool says to correct errors “now by unwrapping the tape and working the area again”, and this is the one place on the bike where that advice is worth taking.
The whole job, in order, with the published detail for each step
Every row in the middle column is traceable to Park Tool’s published procedure. The right-hand column is what you will actually see if you get it wrong.
| # | Step | What the published procedure says | If you get it wrong |
|---|---|---|---|
| 1 | Strip and inspect | Clean off lumps left by adhesive padded tape; tape the housing down with electrical or narrow fibre tape | A loose cable becomes a permanent ridge under the new tape |
| 2 | Test the tape | Pull a short section to gauge tensile strength before you commit | The tape snaps mid-wrap with one hand holding tension |
| 3 | Pre-cut the finish tape | 8–10 in (20–25 cm), ends stuck to the top tube | You need two hands for the finish and only have one free |
| 4 | Pull the hoods forward | Expose the lever body on both sides before starting | Wrapping over the hood instead of under it |
| 5 | Start at the bar end | Bottom side of the bar end, one wrap past the end, three or four wraps, tuck in and plug | Too little overhang and the plug cannot trap the tape |
| 6 | Set the direction | Right side clockwise, left counter-clockwise, seen from the rider's position | Hand pressure lifts the leading edge and the tape creeps |
| 7 | Overlap | About half the tape on bare bar for non-adhesive tape; adhesive strip onto bare bar past the last wrap | Gaps appear on the outside of the drop bend |
| 8 | The lever | Cover the lever strap with the small included piece; wrap over the inside of the body to reverse rotation | A visible gap, or a bulbous mass if you use the figure-of-eight |
| 9 | Finish | Wrap at least two turns past your end point, score the line, back off two wraps, cut square, re-wrap, trim to finish at the bottom of the bar | A diagonal tail that unpeels within a week |
| 10 | Finish tape | Start at the bottom of the bar, wrap in the same direction as the tape, two or three turns, end at the bottom | Finish tape wrapped the other way unwinds against the main tape |
Source: Park Tool, Handlebar Tape Installation (Drop Bars), retrieved 11 October 2026. Nobody in this category publishes a tension figure or a re-wrap interval, and this page does not supply one.
What actually decides this purchase
The finish is where a good wrap gets ruined
Park Tool’s method here is more careful than most people’s, and it is the reason shop wraps look better than home ones. Keep wrapping past your intended end point by at least two turns. Hold scissors or a knife square to the bar and score or mark the tape along the line where it should end. Then back the tape off two wraps, extend that cut all the way through, maintaining the line and angle of the score, and re-wrap. Trim the end so the tape finishes at the bottom of the bar.
Then the finishing tape: start at the bottom of the bar, wrap in the same direction as the bar tape, two or three turns with tension and no wrinkles, and cut so the finish tape also ends at the bottom. Park Tool’s two cosmetic extras are worth knowing: colour the cut edge of light tape with a black marker before you finish it so no white line shows, and “tack weld” the finish tape with a soldering iron or heated spoke end — two or three tacks underneath the bar — to stop it lifting over time.
One safety note from the source, verbatim in substance: use caution on carbon fibre handlebars and do not make deep cuts into the fibres of carbon tubing. Scoring the tape is fine; scoring the bar is a replacement.
Bar end plugs are a safety item, not trim
An unplugged handlebar is an open metal tube at chest height. Fit the plugs. Push-fit plugs trap the tape overhang with thumb pressure; expanding plugs hold considerably better, and Park Tool suggests fitting those before you wrap and tapering the tape start instead.
If you are tightening an expanding plug or a stem bolt on a carbon bar, the torque figure that governs is the one printed on your component. Park Tool’s own torque reference carries the caveat we repeat across this site — third-party torque tables are for reference only — and our torque guide covers the subject properly.
Two variants the autocomplete asks about
Gravel bars. Same procedure, more tape: the flare lengthens the path around the drop, and the tops often get a second layer for rough-surface comfort. Published tape length is the spec that decides whether that is possible, and our roundup records it for all ten listings in our catalog.
Bar-end shifters.The shifter body occupies the bar end, so there is no plug and no overhang to tuck. Start the wrap at the shifter’s clamp instead and work up as normal; the direction rule and the lever technique are unchanged.
Double wrappingis the cheapest real answer to numb hands on a drop-bar bike, and it is more effective than moving up a thickness number — which, as our roundup documents, four of the ten makers publicly explain is not comparable between brands anyway.
What this job needs
Not a ranking, and deliberately short — wrapping bars needs tape, hex keys for the plugs and stem, and a torque wrench if you are working on carbon. Each of these comes from the roundup where it was ranked against its own category. The two tapes are the road option and the longer gravel option, which is the real choice this job makes.
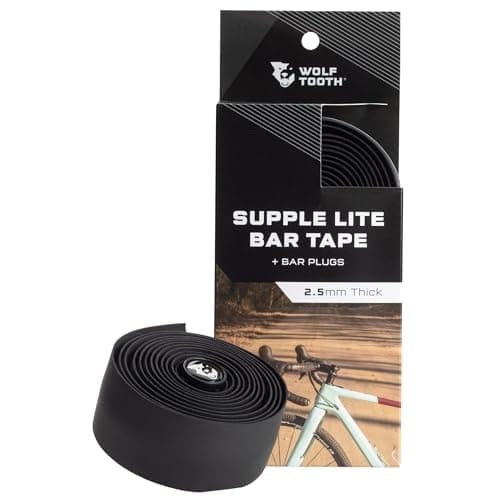
Wolf Tooth Supple Lite Bar Tape
The tape itself. Ranked first on our bar tape roundup on what Wolf Tooth publishes, and the straightforward choice for a first re-wrap on road bars.
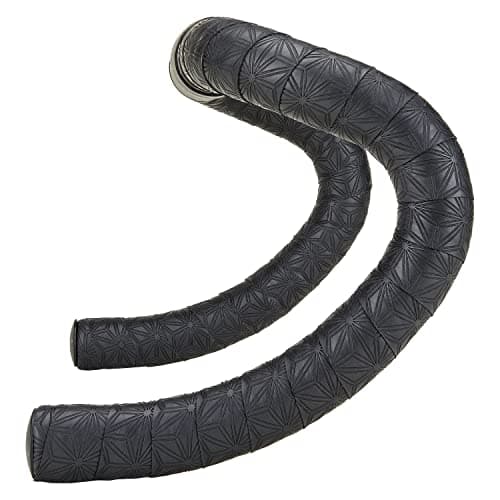
Supacaz Super Sticky Kush Gravel
The longer, grippier roll, published for gravel. Length is what decides whether a double wrap on the tops is possible, so this is the listing for flared bars and for anyone wrapping high.
$44.19 · View on Amazon$48.00 −8%
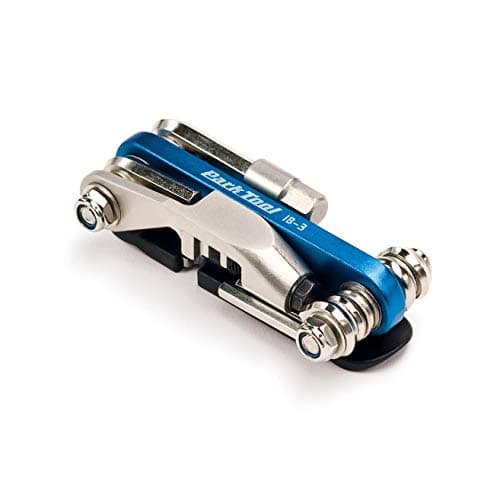
Park Tool IB-3 I-Beam
The hex keys. An expanding bar-end plug and most stem bolts take a 4, 5 or 6 mm hex; this 13-function multitool carries them and is the one our multitool roundup ranks for carrying.
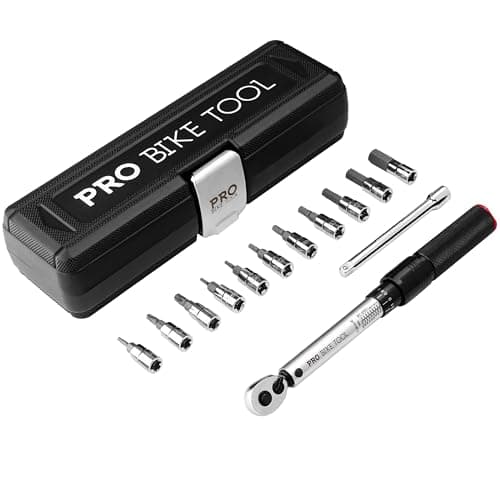
PRO BIKE TOOL Torque Wrench Set
For carbon bars and any bolt with a printed torque figure. The 2.2–16.9 Nm range covers the small fasteners this job touches — use the number on your component, not a table.
We haven’t tested any of these — they’re the parts the job above calls for, listed so you don’t have to go hunting. Prices are live from Amazon and we earn a commission if you buy. Prices as of October 17, 2026. #ad
What we are not going to tell you
How tight is tight enough.Nobody publishes a tension figure for handlebar tape and there is no instrument for it. Park Tool’s description — pull with tension, do not apply enough force to break the tape, work cloth tape smooth at the corners — is the best published version, and your second wrap will be better than your first.
Which thickness feels best. We have not ridden any of these tapes, and the roundup sets out why a millimeter figure is not one measurement. If numb hands are the problem, the gloves guide and the saddle guide cover the two causes usually upstream of the tape.
How often to re-wrap. No published interval exists. The visible signals are a shiny, split or grey patch where your hands sit on the hoods, and tape that has crept enough to open the overlap.
Common questions
Which direction should you wrap bar tape?
Park Tool publishes the rule and the reason: seen from the rider’s position, the stress on the drops is outward on each side, so the right side is wrapped clockwise and the left counter-clockwise. Then, because riders pull back on the tops, “the direction of wrap will need to be reversed above the levers”. A correct wrap changes direction at the lever, which is the detail most guides omit.
Do you start bar tape at the top or the bottom?
At the bottom, and the published reason is specific: “Starting at the top of the bars and working downward will result in rolling the edge of the tape down as the user presses on it during riding.” Start at the bottom side of the bar end, extend one wrap past the end, wrap three or four times, then tuck the overhang in and fit the plug before going any further.
How much should bar tape overlap?
For non-adhesive tape, Park Tool publishes “overlap so approximately half the tape is on bar” — which is more than the one-third figure that circulates. If your tape has an adhesive strip down its middle, the instruction is different and more useful: overlap so the adhesive lands on bare handlebar just past the previous wrap.
Should you use a figure 8 around the brake hoods?
Park Tool describes it as a legacy technique — it “comes from a time when bar tape was relatively thin”, uses more tape, and “can leave a large bulbous mass at the lever”. The better method from the same source is to wrap over the inside of the lever body, which covers the bar and reverses the rotation so the tape above the lever runs the right way for how your hands load the tops. Use the small extra piece of tape from the kit to cover the lever strap first.
How do you finish bar tape so it doesn't unravel?
Wrap at least two turns past where you want to end, score the tape square to the bar along the finish line, back off two wraps, cut all the way through on that line, re-wrap, and trim so the tape ends at the bottom of the bar. Then run the pre-cut 8–10 inch finish tape in the same directionas the bar tape, two or three turns, ending at the bottom. Park Tool’s trick for finish tape that lifts over time is to tack it with a soldering iron or heated spoke end.
Can you wrap bar tape twice for more comfort?
Yes, and on the tops it is the cheapest comfort upgrade available on a drop-bar bike. The constraint is roll length: you need enough tape to double the tops and still reach your finish point, which is why published length is the spec worth checking on our tape roundup before buying. It is also more effective than moving up a thickness number you cannot compare across brands.
Sources
- Park Tool — Handlebar Tape Installation (Drop Bars), published 7 January 2016. Source of every procedural instruction on this page, including: wrap from the bar end upward because starting at the top “will result in rolling the edge of the tape down as the user presses on it during riding”; right side clockwise and left counter-clockwise as seen from the rider's position; “the direction of wrap will need to be reversed above the levers”; “overlap so approximately half the tape is on bar” for non-adhesive tape; the three lever techniques, with the figure-of-eight described as coming from “a time when bar tape was relatively thin” and able to “leave a large bulbous mass at the lever”; the score-and-back-off-two-wraps finish; 8–10 in (20–25 cm) pre-cut finishing tape; the caution against deep cuts into carbon fibre; and the expanding-plug-first and tack-weld techniques — retrieved 11 October 2026
- Park Tool — Torque Specifications and Concepts, for the standing caveat that third-party torque tables are for reference only and the governing figure is the one supplied with the component. Cited elsewhere on this site with its original retrieval date — retrieved 5 October 2026
- Box contents and published tape length for the ten bar tapes in content/catalogue.json, as recorded on /road/best-bar-tape — including the finding that four of the ten makers publish, in their own copy, why a thickness in millimeters is not a comparable figure between brands — retrieved 30 September 2026
- No maker in this category publishes a tension figure or a re-wrap interval, so this page supplies neither and says so
- Google Autocomplete — “how to wrap bar tape” returns “…road bike”, “…like a pro”, “…on drop bars”, “…gravel bike”, “…around hoods”, “…around brake hoods”, “…figure 8” and “…with bar end shifters” — retrieved 11 October 2026
Read next
- The best bar tape
Which tape to buy, ranked on published length and what is in the box.
- The bike bolt torque guide
For the expanding plug and the stem bolts, and why tables are reference only.
- How to choose cycling gloves
The other half of the numb-hands problem, and usually the first fix.
- How to choose a bike saddle
Why hand pain is often a weight-distribution problem, not a tape problem.
- The best bike multitools
Where the hex keys in the block above are ranked.
- How to set saddle height
The other twenty-minute job that changes how a bike feels.
We haven’t ridden or tested any of the products on this page, and we don’t pretend otherwise. Read how we research — or tell us we’re wrong and we’ll log the correction.