How to Set Up Cycling Cleats
Three adjustments, one principle, and a float figure that belongs to the cleat rather than the pedal. Everything numeric on this page is Shimano's own published figure.
Heads up: we earn a commission if you buy through the links on this page, at no extra cost to you. It never decides what makes the list — here’s how that works.
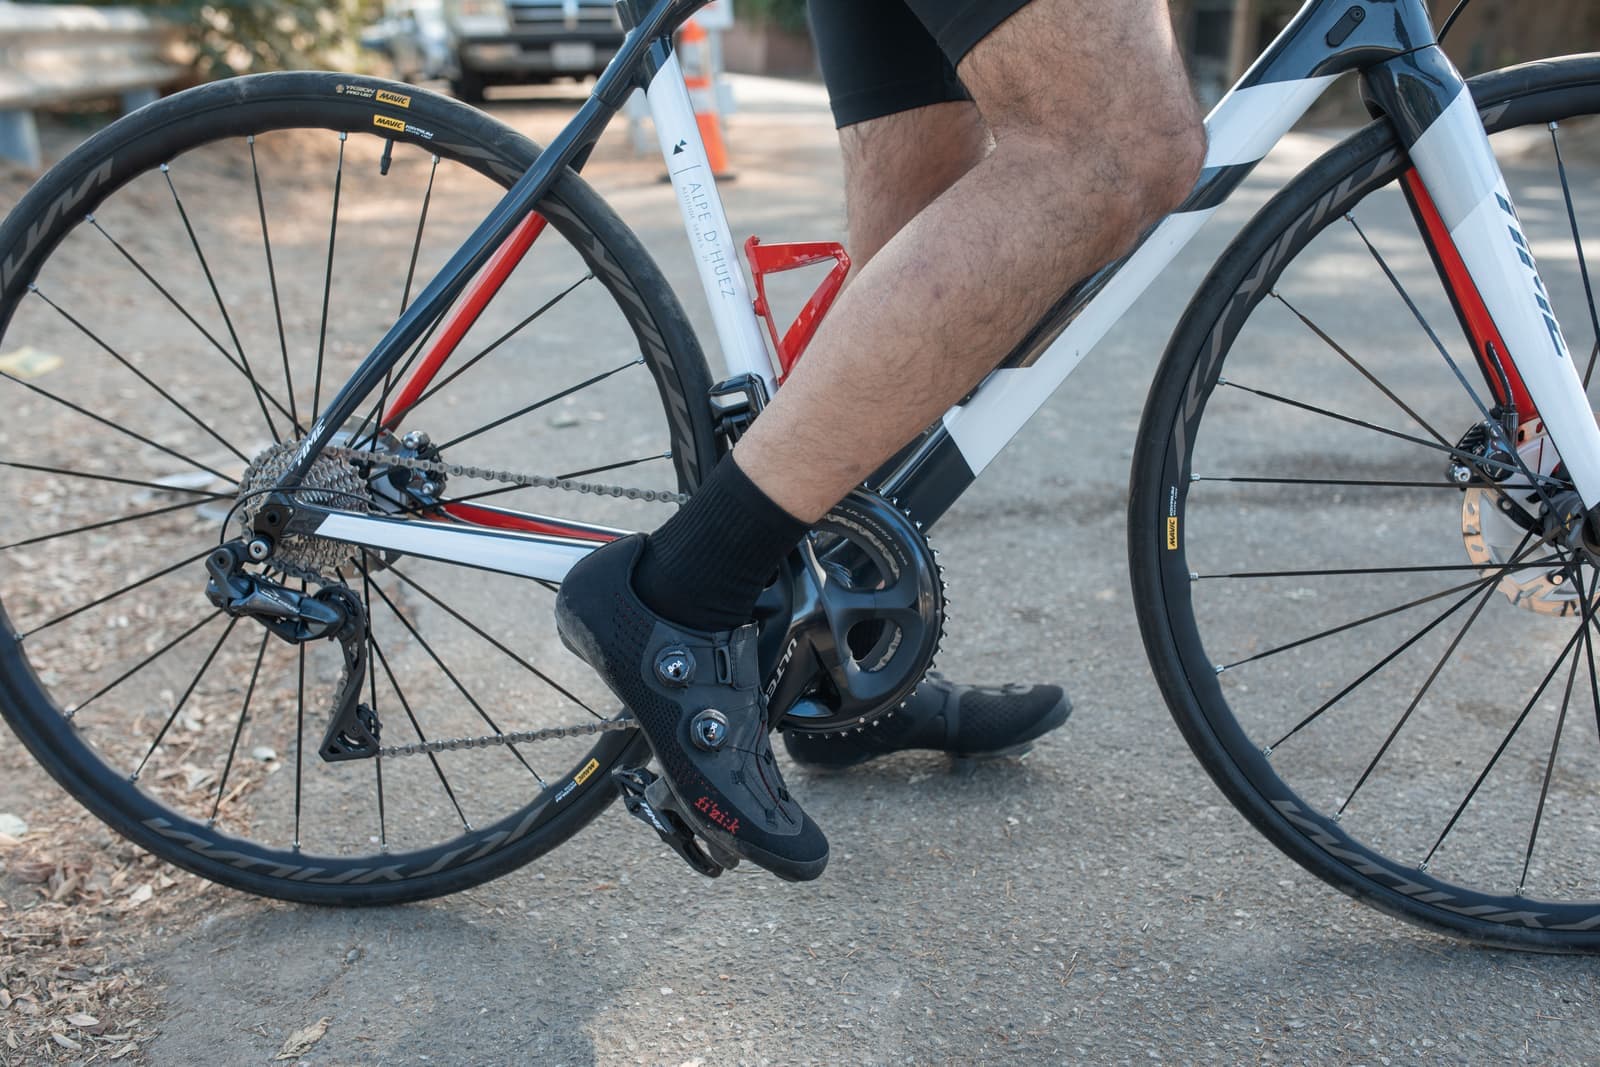
Start with the ball of your foot over the pedal axle, your foot pointing the way it naturally points, and the yellow 6-degree cleats that came in the box. Then change one thing at a time over several rides. That is the whole answer, and the most important part of it is the last clause — Shimano’s own guidance is that it “may take several rides to dial the position perfectly”, and it is the instruction most setup advice skips.
Everything numeric below is quoted from Shimano’s published road cleat guide, read on 5 October 2026. We hold no bike-fit data, we have not measured anyone’s knee, and where a figure is not published we say so instead of filling the gap.
What a cleat actually adjusts: three axes, not one
Shimano describes the SPD-SL cleat as having “a three-bolt mounting pattern” with “a channel at each bolt that allows for vertical, lateral, and angular adjustments of the cleat position”, and says that setting those adjustments “will determine how and where a shoe clicks into the pedal and also sets the general riding position of the foot”.
In the language riders actually use, those three are:
Fore-aft — how far forward or back the cleat sits in the sole. This decides where the pedal axle falls under your foot, and it is the adjustment with the largest effect on how the pedal stroke feels.
Lateral — how far the cleat sits towards the inside or outside edge of the sole. This moves your foot in or out relative to the crank, changing the effective width of your stance.
Angular (rotation) — which way the cleat, and therefore your foot, is pointed. This is the one most people get wrong, and the one float exists to forgive.
Float: what it is, and why it belongs to the cleat
Shimano defines float as “a certain amount of angular rotation that a cleat, and thus the rest of a shoe, can freely move before it meets the resistance of the release mechanism on a pedal”, or in plainer terms “how far your toes point toward or away from the bike before meeting resistance”.
The thing worth internalising is that float is a property of the cleat, not the pedal. This is the central finding of our road pedal roundup, and it means you change your float by buying a different coloured plastic wedge, not a different pedal. Shimano publishes three SPD-SL options:
SM-SH11, yellow — 6 degrees. Shimano publishes this as a “six-degree float range (three degrees in each direction)” with the pivot point “in the center of the cleat, allowing the toes to point in a wide range of angles”. It calls this “the most popular option among casual fitness cyclists” and notes the broad range “provides more room for error when setting up cleats”. It recommends it for riders new to cycling, those experiencing knee pain, those lacking flexibility, or anyone who does not know where to start. Our pedal roundup records that this is the cleat Shimano ships with its SPD-SL pedals.
SM-SH12, blue — 2 degrees. Published as “two degrees of float (one degree in each direction)”, with the pivot “at the front of the cleat, which eliminates most lateral movement while allowing a small amount of rotation from the pivot back toward the heel”. Shimano calls it the middle ground.
SM-SH10, red — 0 degrees. Published as having “no float” and being “100% fixed in position”. Shimano’s own caveat matters here: these “require precise cleat positioning, so they are best installed by seasoned riders or with the help of a bike fitting professional”.
One small inconsistency worth flagging, because it confuses people reading the source document itself: Shimano’s page heads that middle section “SM-SH12 Blue SPD-SL Cleats” and then, inside the same paragraph, writes “SM-SH11 Blue cleats”. SM-SH12 is the blue 2-degree cleat and SM-SH11 is the yellow 6-degree one. We are not correcting Shimano; we are telling you what to buy.
The principle that makes the angular adjustment easy
This is the single most useful published sentence in the whole category, so here it is in full. Shimano: “Regardless of your preferred foot angle, the goal is to position the cleats with the neutral foot position in the middle of the float range.”
Neutral foot position, Shimano says, “refers to the most comfortable/efficient position for pedaling”, and it explicitly does not assume that is straight ahead: “For some athletes, this means that both feet point perfectly straight forward. For others, the toes naturally point inward or outward. Injuries on one side of the body can result in different neutral foot positions for the right and left sides.”
So the target is not “point the cleat straight”. The target is centre the float on where your foot wants to be, which means your two cleats may well end up at different angles. Shimano’s stated benefit is that this “allows for even float beyond the neutral foot position, which helps take stress off knees, ankles, hips, and lower back”.
What to look for before you touch a bolt
Four things, and the first two decide whether the rest of this page even applies to you.
One: count the bolt holes in your sole. Three holes in a triangle is the road standard — SPD-SL, LOOK KEO and similar. Two holes side by side is the off-road standard, SPD. Some shoes have both. If you are not sure which system you are in, SPD versus SPD-SL is the page that sorts it, and road versus gravel shoes covers the sole side.
Two: check which cleats are in the box, by colour. On SPD-SL the colour is the float figure, and the figures are above. Shimano’s SPD cleats work differently: our pedal research records a fixed 4 degrees of float and a 13-degree clip-out angle in both the SM-SH51 and SM-SH56, which differ in release directionrather than in degrees — single-release versus multi-release. There is no float choice to make on SPD.
Three: find the torque figure for your pedals, from your pedals. Shimano publishes a cleat fixing bolt torque in each pedal’s own service instruction sheet — the paper in the box. We are not going to print a number here, because si.shimano.com refuses automated retrieval and we will not reprint a figure we have not read. Park Tool’s own published caveat on its torque reference applies and is worth quoting: “Numbers provided for reference only… Contact the manufacturer for the most up to date specifications.” Your pedal’s own sheet is the manufacturer. Use that.
Four: mark the starting position before you move anything. If the shoes are not new, draw round the cleat with a fine marker before you loosen it. That gives you a free undo, and it is the difference between a controlled experiment and starting from scratch.
What this job physically needs
Not a ranking — these are the four things the checks above decide between. Two shoes representing the two bolt patterns, the pedals that come with the 6-degree cleat, and a torque wrench whose published range covers any plausible cleat bolt spec. Buy the shoe that matches the pedal system you are in, not the one at the top of the list.
- Shimano
Shimano SH-RC102
The three-bolt road side: a road shoe with the SPD-SL bolt pattern, which is the pattern every float figure on this page refers to. If your sole has three holes in a triangle, this is your world.
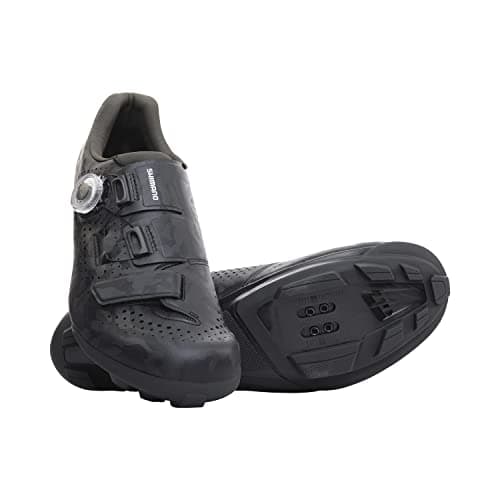
Shimano SH-RX600
The two-bolt side: Shimano's gravel shoe, built for SPD cleats that recess into the sole so you can walk. SPD has no float choice — a fixed 4 degrees and a 13-degree clip-out, per Shimano's published cleat specs.
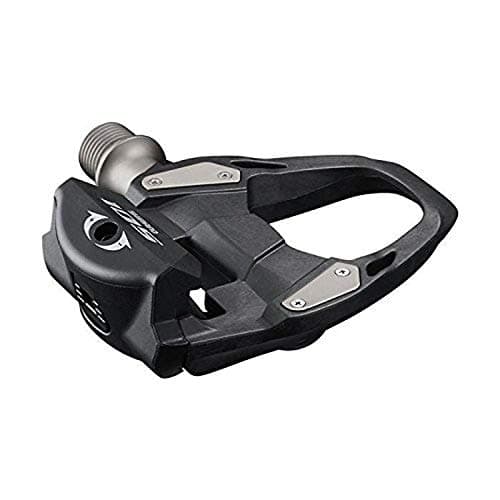
Shimano 105 PD-R7000 Pedals
The road pedals our pedal roundup ranks first, and the ones that arrive with the 6-degree yellow SM-SH11 cleat — the one Shimano recommends for anyone who does not know where to start.
$125.00 · View on Amazon$175.00 −29%
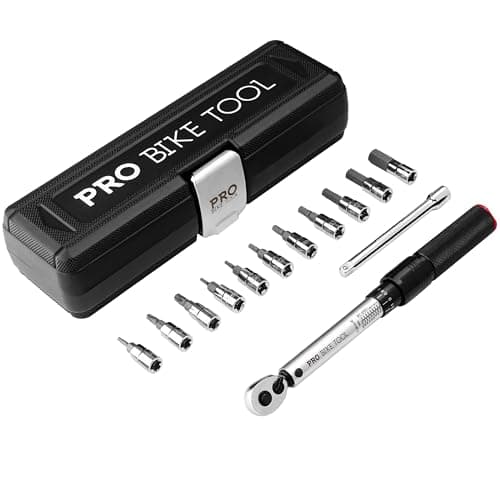
PRO BIKE TOOL Torque Wrench Set
The tool for the one bolt on this job you can genuinely over-tighten. Its published range is 2.2 to 16.9 Nm, which brackets any cleat bolt figure your pedal's own service sheet is going to specify.
We haven’t tested any of these — they’re the parts the job above calls for, listed so you don’t have to go hunting. Prices are live from Amazon and we earn a commission if you buy. Prices as of October 18, 2026. #ad
The procedure, in order
Step one: fore-aft, using the ball of your foot. Put your shoes on, find the widest part of your foot with your thumb, and feel for the bony bump behind your big toe. The conventional starting point is that bump over or just behind the pedal axle. Set both cleats the same, in the middle of their fore-aft channel if you have no reason to prefer otherwise — which leaves you adjustment in both directions later.
Step two: lateral, using your knees. Set the cleats so your feet are not rubbing the cranks and not sitting unnaturally wide. Most people end up near the middle of the lateral range. If your heel hits the crank arm, move the cleat towards the outside edge of the sole — which moves your foot inboard is the counter-intuitive bit, so change it, ride it, and check.
Step three: angular, using your neutral foot position. This is where Shimano’s principle does the work. Sit on the bike, unclipped, and let your feet settle where they want to be. That is your neutral. Set each cleat so the float range is centred there — not so the cleat points straight.
Step four: tighten to the figure on your pedal’s sheet. Three bolts per cleat on SPD-SL, two on SPD. Tighten them progressively rather than one at a time, so the cleat does not skew as it clamps.
Step five: set the release tension, if your pedals have it. Shimano publishes that SPD-SL pedals “have an adjustment screw that dials in the release tension depending on rider confidence and preference”, and is specific about who should go which way: riders new to clipping in, “or those who may not have as much rotational mobility through the hip, knee, or ankle, can opt for a low-tension setting for easy disengagement”, while racers “will crank down the tension to ensure maximum engagement”. If you are new, wind it loose. You can always add tension; you cannot un-fall-over.
Step six: ride it, then change one thing. Shimano’s own advice is to “take your time and make small cleat adjustments as needed” because it “may take several rides to dial the position perfectly”. Change one axis per ride. If you change all three at once and it feels worse, you have learned nothing.
When to stop and see a bike fitter
This is the part where a page like this should know its limits. Cleat position is the interface between your skeleton and a machine, and the published advice above is Shimano’s general guidance rather than anyone’s assessment of you.
Shimano itself points this way twice — recommending a bike fitter for the zero-float red cleats specifically, and more generally saying “visit a local shop or bike fitter for help dialing everything in”. We would add one specific trigger: new knee, hip or Achilles pain that arrived with the cleats is not a tinkering problem. Put the 6-degree yellow cleats in, set the float centred on neutral, and if it persists, get looked at by someone who can watch you pedal.
Two other float systems, for completeness, both recorded on our pedal roundup. LOOK publishes its KEO GRIP cleat in 0, 4.5 and 9 degrees but does not publish which angle is in the box, so check the packet. Wahoo publishes Speedplay float as adjustable from 0 to 15 degrees with an independently micro-adjustable 0 to 7.5 degree release, which is the widest published adjustment range of any system we have specs for.
Position is this page; the movement is another. How to use clipless pedals covers the heel-out release itself, the published 13-degree SPD clip-out, and the four situations every clipless fall happens in.
Common questions
Where should cleats be positioned on cycling shoes?
The conventional starting point is the ball of your foot — the bony bump behind your big toe — over or just behind the pedal axle, with the cleat roughly central in its lateral channel. For the angle, Shimano’s published principle is the one to follow: position the cleats so your neutral foot position sits in the middle of the float range, which may mean the two cleats end up at different angles.
What is cleat float and how much do I need?
Float is the angular rotation a cleat allows before it meets the pedal’s release mechanism. Shimano publishes three SPD-SL options: SM-SH11 yellow at 6 degrees (3 in each direction, centre pivot), SM-SH12 blue at 2 degrees (1 each direction, front pivot) and SM-SH10 red at 0 degrees. Shimano recommends the yellow for riders who are new, have knee pain, lack flexibility or do not know where to start — and notes it gives more room for error in setup.
Which cleat colour comes with Shimano pedals?
The yellow SM-SH11, the 6-degree one, is what our pedal roundup records as shipping with Shimano’s SPD-SL pedals. That is also the cleat Shimano’s own guide recommends for anyone starting out, so for most riders the right first move is to fit what is in the box.
How tight should cleat bolts be?
To the figure in your pedal’s own service instruction sheet, which is the paper in the box. We are not printing a number here: Shimano publishes cleat bolt torque per-product on si.shimano.com, which blocks automated retrieval, so we have not read it and will not reprint it second-hand. Park Tool’s own torque reference carries the relevant caveat — contact the manufacturer for the most up to date specification.
Do SPD cleats have float options like road cleats?
No. Our pedal research records Shimano SPD as a fixed 4 degrees of float with a 13-degree clip-out in both the SM-SH51 and SM-SH56, which differ in release direction (single-release versus multi-release) rather than in degrees. There is no float choice to make on SPD, which is one of the ways it is a simpler system.
How long does it take to get cleat position right?
Shimano says it “may take several rides to dial the position perfectly” and advises small adjustments. Change one axis at a time and ride between changes — changing fore-aft, lateral and angular together teaches you nothing about which one mattered.
Does cleat position affect power?
Nobody publishes a figure for it, so we are not going to claim one. Shimano says in its own guide that float “can also result in a feeling of slightly less power transfer if your foot moves around too much” — note “a feeling of”, which is as far as the published language goes. Our SPD versus SPD-SL comparison refuses the power-transfer question outright for the same reason.
Sources
- Shimano — Road Cleat Guide. Every float and position figure on this page: the three-bolt pattern with “a channel at each bolt that allows for vertical, lateral, and angular adjustments of the cleat position”; float defined as “angular rotation that a cleat, and thus the rest of a shoe, can freely move before it meets the resistance of the release mechanism on a pedal”; SM-SH11 yellow “six-degree float range (three degrees in each direction)” with the pivot “in the center of the cleat”, described as “the most popular option among casual fitness cyclists” providing “more room for error when setting up cleats”; SM-SH12 blue “two degrees of float (one degree in each direction)” with the pivot “at the front of the cleat”; SM-SH10 red “no float” and “100% fixed in position” which “require precise cleat positioning”; the release tension adjustment screw and its low-tension recommendation for riders new to clipping in or with less rotational mobility; “the goal is to position the cleats with the neutral foot position in the middle of the float range”; and “it may take several rides to dial the position perfectly”. Note: Shimano's page heads one section “SM-SH12 Blue” and writes “SM-SH11 Blue” inside it — retrieved 5 October 2026
- Shimano SPD cleat specifications (fixed 4 degrees of float, 13-degree clip-out, SM-SH51 single-release and SM-SH56 multi-release) — as recorded on /road/best-road-bike-pedals and /road/spd-vs-spd-sl from Shimano's own product pages, reused here with their original retrieval date — retrieved 10 September 2026
- Park Tool — Torque Specifications and Concepts, for the published caveat that applies to any third-party torque figure: “Numbers provided for reference only… Contact the manufacturer for the most up to date specifications.” — retrieved 18 August 2026
- Cleat bolt torque is NOT published on this page. Shimano publishes it per-product in the service instruction sheet supplied with each pedal, hosted on si.shimano.com, which returned HTTP 403 to automated retrieval on 5 October 2026. We did not read it and do not reprint it — retrieved 5 October 2026
- LOOK KEO GRIP cleats published in 0, 4.5 and 9 degrees with the in-box angle not published, and Wahoo Speedplay float published as adjustable 0 to 15 degrees with an independently micro-adjustable 0 to 7.5 degree release — both as recorded on /road/best-road-bike-pedals — retrieved 10 September 2026
- Google Autocomplete — “how to set up cleats” returns “on mtb shoes”, “on road bike shoes”, “on cycling shoes”, “for clipless pedals” and “correctly”; “cleat position road bike” returns “correct cleat position road bike”, “best cleat position for road bike”, “proper bike cleat position” and “proper cleat placement for cycling” — retrieved 5 October 2026
Read next
- SPD vs SPD-SL
Which standard you are in, decided by whether you walk in your shoes.
- The best road bike pedals
Ranked on published float — which belongs to the cleat, not the pedal.
- The best cycling shoes
Chosen by bolt pattern and closure, because nobody publishes sole stiffness.
- Road vs gravel cycling shoes
Two bolts or three, recessed or proud — the sole side of this decision.
- Bike bolt torque guide
Published figures by component, each attributed to the brand that published it.
- How to measure your sit bones
The other contact point worth getting right before you chase comfort.
- How to use clipless pedals
The release movement, once the cleat is in the right place.
We haven’t ridden or tested any of the products on this page, and we don’t pretend otherwise. Read how we research — or tell us we’re wrong and we’ll log the correction.