How to Use Clipless Pedals
You release by twisting your heel outwards, and Shimano publishes the angle: 13 degrees on SPD. Everything else is practising that one movement until it is automatic — which takes about an hour.
Heads up: we earn a commission if you buy through the links on this page, at no extra cost to you. It never decides what makes the list — here’s how that works.
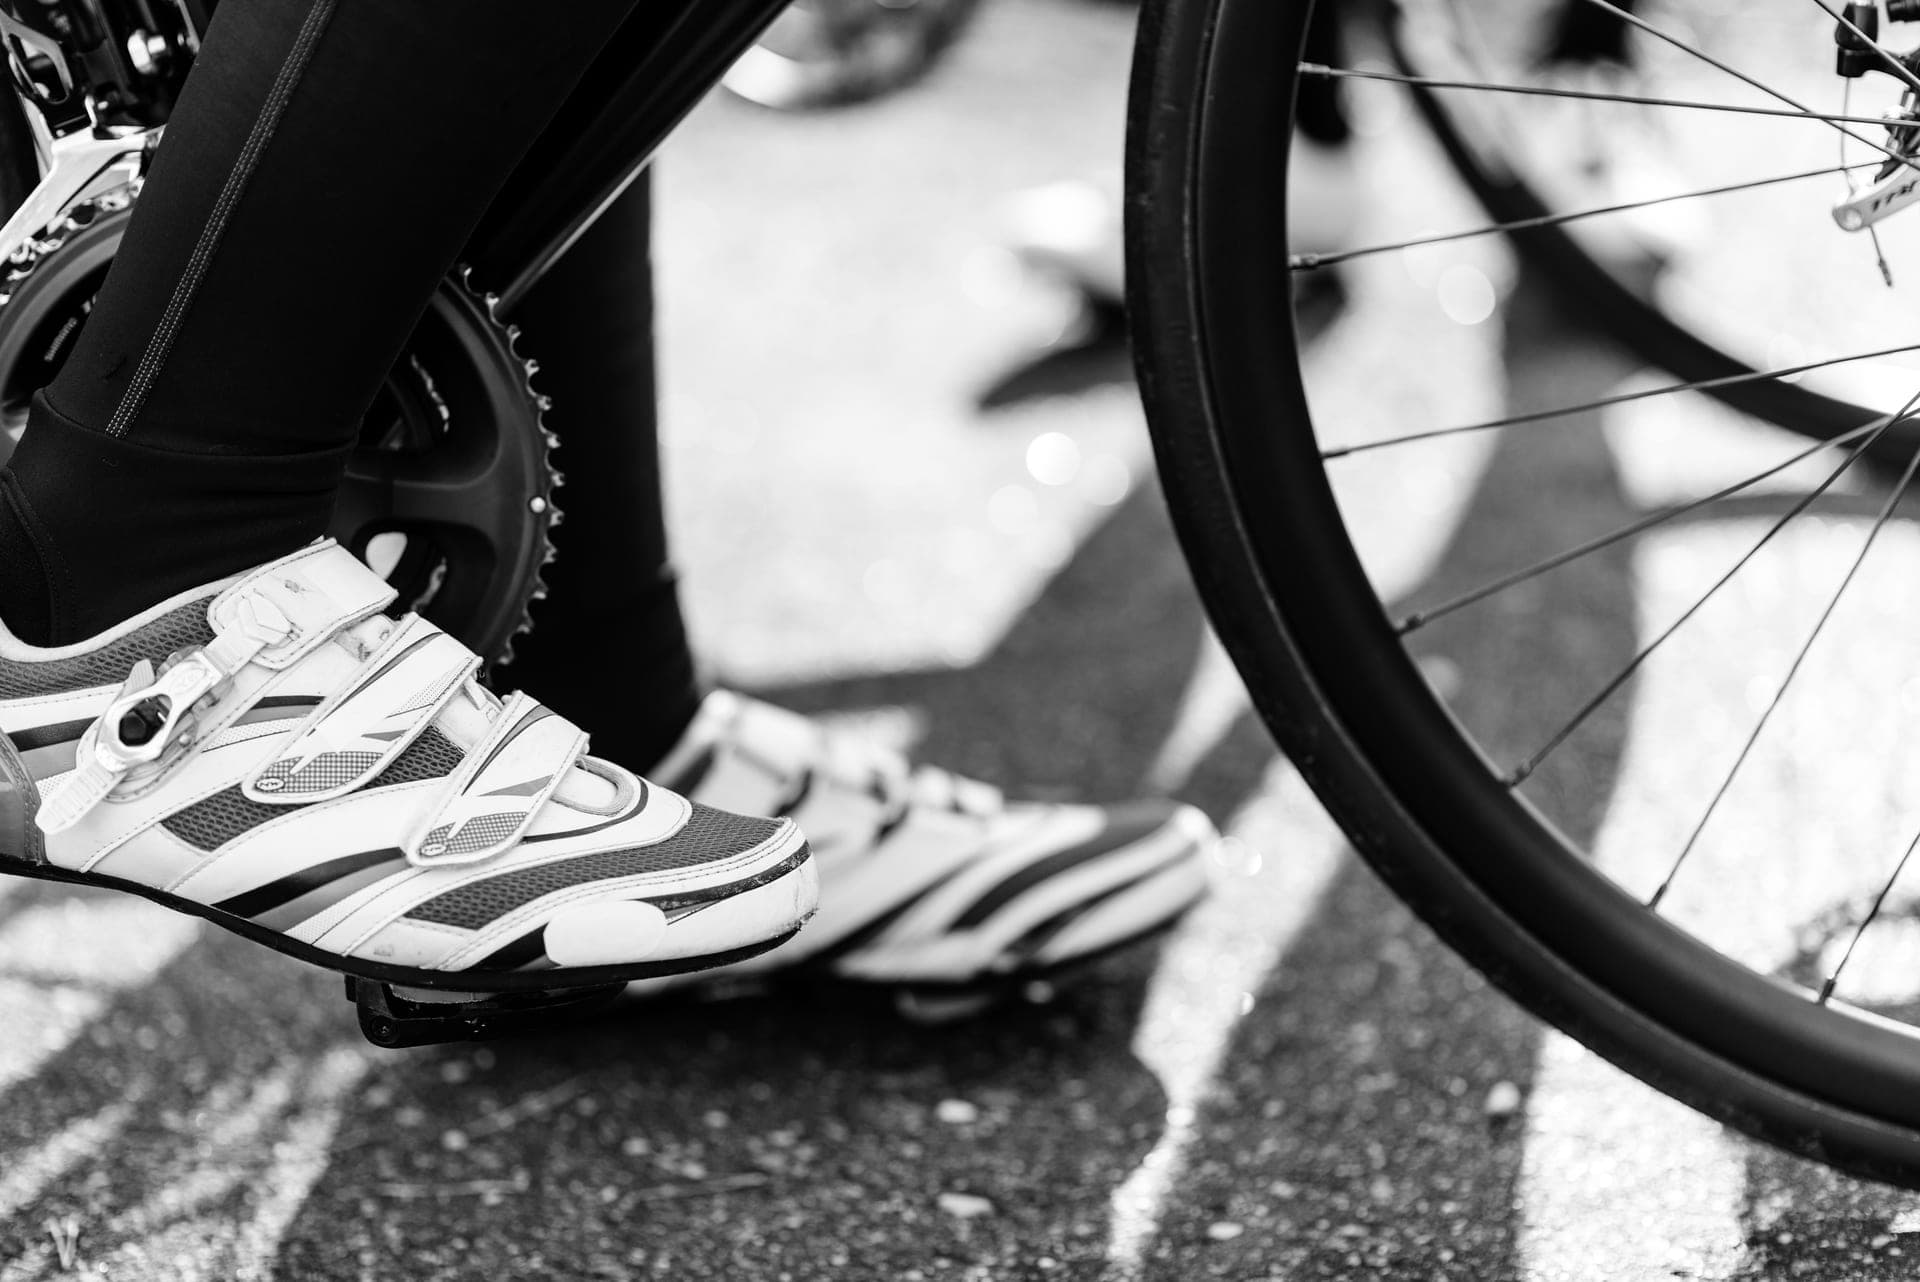
To get out, twist your heel outwards, away from the bike. Not up, not back — outwards, pivoting around the ball of your foot. Shimano publishes the angle for its SPD system: 13 degrees of rotation and the cleat releases. To get in, put the front of the cleat against the front of the pedal and press your heel down until it clicks. That is the whole skill, and the reason it feels frightening is that it has to become automatic before you need it, rather than after.
Two things worth knowing before your first ride, both published and both rarely mentioned. First, “clipless” is a historical name and it is backwards: these are the pedals you clip into. They are called clipless because they replaced toe clips — the leather-and-cage straps on the front of old pedals — so the name describes what they got rid of, not what they do. Second, there is a cleat designed to make this easier for beginners, and almost nobody tells you about it. It is below.
The one movement, in detail
Release is a rotation of the heel in the horizontal plane. Think of your foot as pivoting around the ball, with the heel swinging out and away from the bike. The common beginner error is to try to lift the foot off the pedal, which is the one direction the mechanism is specifically built to resist — that is what holds you on when you pull up on the pedal.
Before the release happens, there is free movement. Shimano defines float as “a certain amount of angular rotation that a cleat, and thus the rest of a shoe, can freely move before it meets the resistance of the release mechanism on a pedal”. That matters for learning, because it means the first part of the twist does nothing and feels like nothing. You have to go throughthe float before anything happens, and the amount of float depends on which cleat you have. Shimano publishes 6 degrees for the yellow SM-SH11, 2 degrees for the blue SM-SH12 and none at all for the red SM-SH10 — and SPD, the two-bolt mountain and gravel system, is published at a fixed 4 degrees.
So on a yellow-cleated road setup there are 3 degrees of free rotation outwards before the mechanism even begins to load. On SPD, the published clip-out angle is 13 degrees. Thirteen degrees is not much. It is roughly the angle you would turn your foot to point your toes at something just beside the bike.
The published fact that makes this easier, which nobody tells beginners
Shimano makes two SPD cleats that are identical in float — both a fixed 4 degrees, both a 13-degree clip-out — and differ only in which directions they release in. The SM-SH51 is single-release: it comes out when you twist your heel outwards, and essentially only then. The SM-SH56 is multi-release: it will also release when the foot is twisted or pulled in other directions.
If you are nervous about clipless pedals, that is the cleat to start on. It is a few dollars of stamped steel, it fits the same pedals, and it changes the failure mode from “trapped” to “came out sooner than I meant”. Our pedal rounduprecords both, and the distinction is in the cleat rather than the pedal — which is the single most useful structural fact about this whole system.
One caveat, stated plainly: that choice exists on SPD. On SPD-SL, Shimano’s road system, the three cleats differ in float rather than release direction, so the beginner-friendly option there is the yellow 6-degree SM-SH11 — which is also what Shimano’s pedals ship with. The SPD versus SPD-SL comparison covers why you might pick one system over the other.
Learning it, in an hour, without hurting yourself
The sequence below is how everyone who rides clipless learnt it, and the only part that is non-obvious is the first one.
- Set the release tension to its lowest setting first.Most SPD pedals have an adjustment screw on each side of each pedal that sets how hard the mechanism grips. Wind it out before your first ride and wind it in later if you find yourself coming unclipped. Not every pedal has this — look for the screw with a scale printed beside it.
- Practise leaning on something, both feet on the ground. Hold a wall or a doorframe, clip one foot in, twist it out. Do it fifty times on each side. This is the repetition that moves the movement out of your conscious attention, which is the entire objective.
- Then on grass, moving. Clip in one foot, push off, clip in the other, ride ten metres, clip out, stop. The reason for grass is obvious and not a joke.
- Decide which foot you put down, and always use it.This is the habit that prevents the classic fall. Your “down foot” comes out as you slow, every time, without thought.
- Unclip early and unclip before you need to. As you approach a junction, come out of the pedal while you are still rolling. A clipped-in foot at walking pace is the situation every clipless fall happens in.
Where people actually fall, in order of frequency
None of these is about strength or balance. All four are about having left the release until too late.
The four clipless falls, and the habit that prevents each
Every one of these happens at under walking pace, which is why they are embarrassing rather than dangerous — and why the fix is always timing rather than skill.
| Situation | What happens | The habit that prevents it |
|---|---|---|
| Stopping at a junction | You slow to a halt still clipped in, start to topple, and try to release after you have already lost balance | Unclip the down foot while still rolling, several metres out |
| Stopping on a hill | The bike stops faster than you expected and there is no momentum left to balance with | Unclip earlier on a climb than on the flat, and stop with the down foot on the uphill side |
| Wrong foot down | You unclip the left and the bike leans right, or you unclip both and commit to neither | Pick one down foot on day one and never vary it |
| Trying to lift the foot out | Nothing happens, because upward pull is the direction the mechanism is built to resist | Twist the heel outwards — 13 degrees on SPD, per Shimano's published figure |
The 13-degree clip-out angle and the fixed 4 degrees of float on SPD are Shimano’s published cleat specifications as recorded on our road pedal roundup. The habits are convention — nobody publishes a study on clipless falls, and we are not going to pretend otherwise.
What actually decides this purchase
Float is not slack, and it is not a setting on the pedal
This is the most useful thing to understand and the most commonly confused. Float belongs to the cleat, not the pedal: you change how much your foot can rotate by fitting a differently coloured piece of plastic or steel, not by buying a different pedal. That is the central finding of our pedal roundup, and it means the thing you are most likely to want to change after your first few rides costs very little.
Shimano’s own published caution about float is worth quoting exactly, because it is carefully worded: float “can also result in a feeling of slightly less power transfer if your foot moves around too much”. Note “a feeling of”. That is as far as the published language goes, and we are not going to go further.
Get the cleat position roughly right before you practise
Practising on a badly positioned cleat teaches you a movement you will later have to unlearn, and it is also the fastest route to knee pain. The short version is: ball of the foot over the pedal axle, foot pointing the way it naturally points, and the float range centred on that neutral position rather than on “straight”. Shimano’s published principle is that “the goal is to position the cleats with the neutral foot position in the middle of the float range”, which can mean your two cleats end up at different angles. Our cleat setup guideis the full procedure, with every figure from Shimano’s own document.
Walking in them, and the thing that makes SPD easier
A road cleat protrudes from a smooth sole, so walking in SPD-SL shoes is a clattering, slippery experience and genuinely hazardous on a tiled café floor. A two-bolt SPD cleat is small and recessed into a treaded sole, so you can walk normally. If your riding involves getting off the bike — commuting, gravel, bikepacking, cafés — that practical difference matters more than any performance argument, and the road versus gravel shoe comparison goes through the two sole types.
What a first clipless setup needs
Not a ranking — these are the four things this job actually requires, from the roundups where each was ranked against its own category. One pedal from each system, the two shoe patterns that match them, and the tool for the shoe-sole bolts. The pedals here arrive with cleats in the box, which is the reason they are the sensible first purchase.
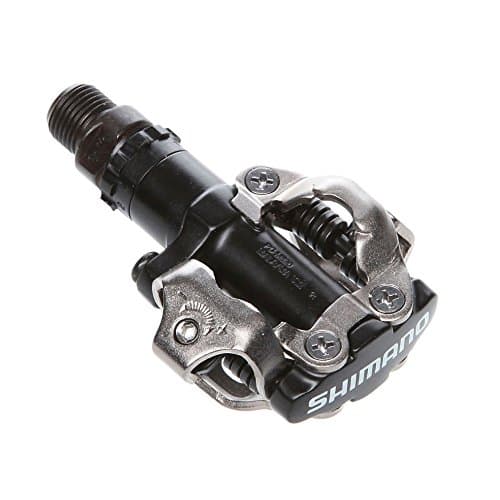
Shimano PD-M520
The two-bolt SPD side, supplied with cleats. This is the system where the multi-release SM-SH56 cleat exists, and the one you can walk in — so it is the easier place to start if you are nervous.
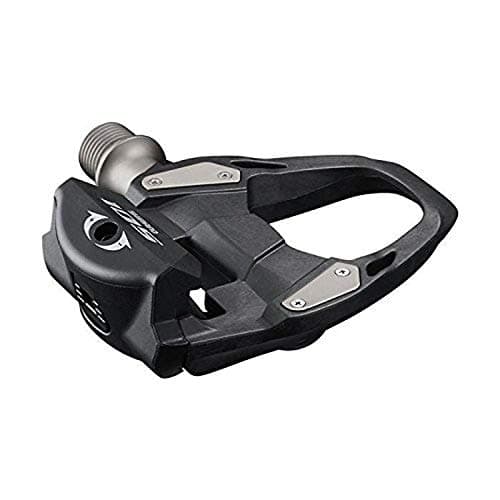
Shimano 105 PD-R7000 Pedals
The three-bolt SPD-SL side, ranked first on our pedal roundup, and the pedals that arrive with the yellow 6-degree SM-SH11 cleat — the one Shimano points beginners at.
$125.00 · View on Amazon$175.00 −29%
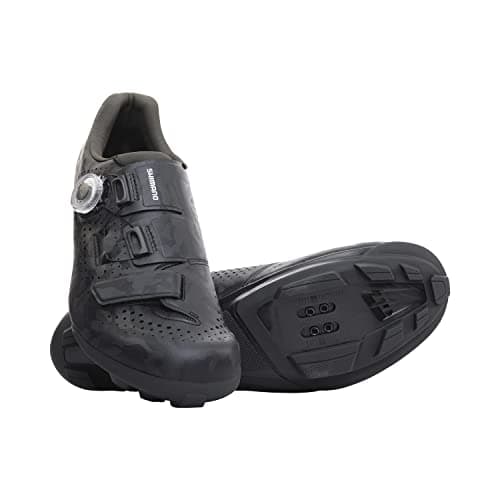
Shimano SH-RX600
A two-bolt shoe with a treaded sole, so the recessed cleat lets you walk. The practical half of the SPD argument, rather than the performance half.
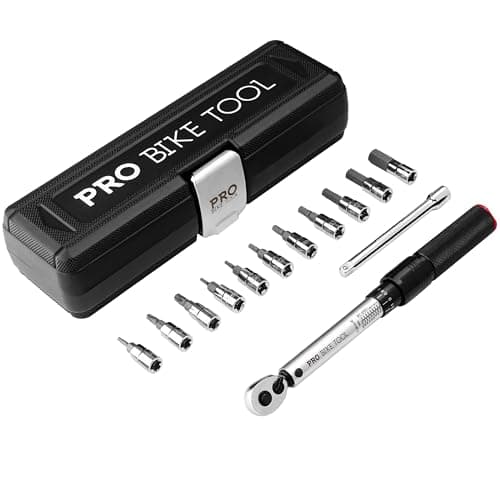
PRO BIKE TOOL Torque Wrench Set
For the cleat bolts and shoe-plate screws. The 2.2–16.9 Nm range covers any plausible cleat bolt figure; use the number on the sheet in your cleat box, because Shimano publishes those per product rather than in one table.
We haven’t tested any of these — they’re the parts the job above calls for, listed so you don’t have to go hunting. Prices are live from Amazon and we earn a commission if you buy. Prices as of October 18, 2026. #ad
What we are not going to tell you
How much release tension to run. Shimano publishes no recommended tension setting and the adjustment is per-pedal with a brand-specific scale. The honest advice is the practical one: start at the loosest, and tighten only if you pull out unintentionally.
That clipless pedals make you faster. Nobody we can cite publishes a measured power or efficiency gain for clipless over flat pedals on a road bike, and we have measured nothing. What the system demonstrably does is hold your foot in one place, which is a positioning benefit rather than a power one.
Whether you need them at all. If your riding is short, urban and stop-start, flat pedals and ordinary shoes are a defensible choice and our beginner gear guide explicitly names shoes and clipless pedals among the things not to buy first. The case for clipless strengthens with ride length.
And the standing disclosure: we have not ridden any of these pedals or shoes. Every figure here — the 13-degree clip-out, the 4 degrees of SPD float, the 6, 2 and 0 degree SPD-SL options, the single-release and multi-release cleat distinction — is Shimano’s own published specification, read on the dates recorded at the bottom of this page.
Common questions
How do you clip out of clipless pedals?
Twist your heel outwards, away from the bike, pivoting around the ball of your foot. Do not try to lift the foot up — upward pull is the direction the mechanism is designed to resist. Shimano publishes a 13-degree clip-out angle for its SPD system, and there is a small amount of free float before that, which is why the first part of the twist feels like nothing is happening.
How do you clip into clipless pedals?
Put the front of the cleat against the front of the pedal mechanism, then press your heel down until it clicks. On a single-sided road pedal you may need to flick the pedal with your toe so the right side is facing up; double-sided SPD pedals clip in from either side, which is one of the reasons they are easier to learn on.
Which cleat is best for a clipless beginner?
On SPD, the multi-release SM-SH56. It has the same published float and clip-out angle as the standard SM-SH51 — a fixed 4 degrees and 13 degrees — but releases in more directions, which changes the worst case from being stuck to coming out early. On SPD-SL the equivalent choice is the yellow 6-degree SM-SH11, which is what Shimano’s own pedals ship with.
How long does it take to get used to clipless pedals?
About an hour of deliberate practice to make the movement reliable, and a few rides for it to become unconscious. The sequence that works: fifty releases per side while leaning against a wall, then slow laps on grass, then quiet roads. Pick one foot to put down and never vary it — that single habit prevents the most common fall.
Will I fall off using clipless pedals?
Probably once, at almost no speed, at a junction, because you left the release too late. Nobody publishes data on this so we are not going to quote a figure, but every fall of this kind shares one cause: being clipped in below walking pace. The fix is to unclip while you are still rolling rather than after you have stopped.
Can you use clipless pedals with normal shoes?
Not with a single-sided road pedal in any useful way. There are dual pedals with a clipless mechanism on one side and a flat platform on the other, which is exactly what the Shimano PD-EH500 on our pedal roundup publishes itself as, and it is a sensible choice if some of your rides are in ordinary shoes. A recessed SPD cleat is also the one you can walk in.
Sources
- Shimano — Road Cleat Guide. Source of the definition of float (“a certain amount of angular rotation that a cleat, and thus the rest of a shoe, can freely move before it meets the resistance of the release mechanism on a pedal”), the three published SPD-SL float figures (SM-SH11 yellow 6 degrees, SM-SH12 blue 2 degrees, SM-SH10 red 0), the principle of centring the float range on the neutral foot position, and the carefully worded caution that float “can also result in a feeling of slightly less power transfer if your foot moves around too much”. Cited elsewhere on this site with its original retrieval date — retrieved 5 October 2026
- Shimano SPD cleat specifications — fixed 4 degrees of float and a 13-degree clip-out angle, in both the single-release SM-SH51 and the multi-release SM-SH56, which differ in release direction rather than in degrees. As recorded on /road/best-road-bike-pedals — retrieved 10 September 2026
- No published study on clipless-pedal falls, learning time or release tension settings could be located, and none is cited here. The practice sequence, the one-down-foot habit and the unclip-early rule are stated as convention, which is what they are
- Google Autocomplete — “how to use clipless pedals” returns “for the first time”, “mtb”, “without cleats” and “how to ride clipless pedals”; “how to clip in and out” returns “of spd pedals”, “of road bike pedals”, “of bike pedals”, “of spd sl pedals”, “of clipless pedals” and “of shimano spd” — retrieved 11 October 2026
Read next
- How to set up cycling cleats
Where the cleat goes, from Shimano's own published figures.
- SPD vs SPD-SL
Which system to learn on, and why one of them you can walk in.
- The best road bike pedals
Ranked on published float — which belongs to the cleat, not the pedal.
- Road vs gravel cycling shoes
The two sole types, and which cleat each one takes.
- The best cycling gear for beginners
Why shoes and clipless pedals are on the not-yet list.
- How to remove and install bike pedals
Fitting the pedals in the first place, including the reverse-threaded one.
We haven’t ridden or tested any of the products on this page, and we don’t pretend otherwise. Read how we research — or tell us we’re wrong and we’ll log the correction.