How to Remove and Install Bike Pedals
The left pedal has a left-hand thread, which means it unscrews clockwise. Get that one fact wrong and you will tighten a pedal you were trying to remove until neither of you can win.
Heads up: we earn a commission if you buy through the links on this page, at no extra cost to you. It never decides what makes the list — here’s how that works.
The right pedal has a normal right-hand thread: counter-clockwise to remove, clockwise to install. The left pedal has a left-hand thread: clockwise to remove, counter-clockwise to install. That asymmetry is the entire difficulty of this job, and it exists for a reason — a pedal spindle rotating inside a crank would gradually unthread itself if both sides used the same hand of thread.
There is a trick that removes the memorisation entirely, and it is Park Tool’s: whichever way a thread slopes upwardis the direction it tightens. Left-hand threads slope up to the left; right-hand threads slope up to the right. Hold the pedal spindle up and look at it. Many pedals are also simply stamped “L” and “R” on the axle or the wrench flats, which is the first thing to check.
The easier way to hold all this in your head: both pedals loosen if you turn them as though pedalling forwards, and tighten if you pedal backwards.That is one rule instead of two, it is in Park Tool’s own procedure, and it is correct on both sides.
Before you start
Park Tool’s published tool list is short: a pedal wrench, a hex wrench for pedals that use one, grease or anti-seize for the threads, and light lubricant for the pivot points and body springs on clipless pedals. One caution from the same list, worth repeating verbatim in substance: never use a cone wrench as a pedal wrench. A cone wrench is thin and made for bearing adjustment; it will round off or bend.
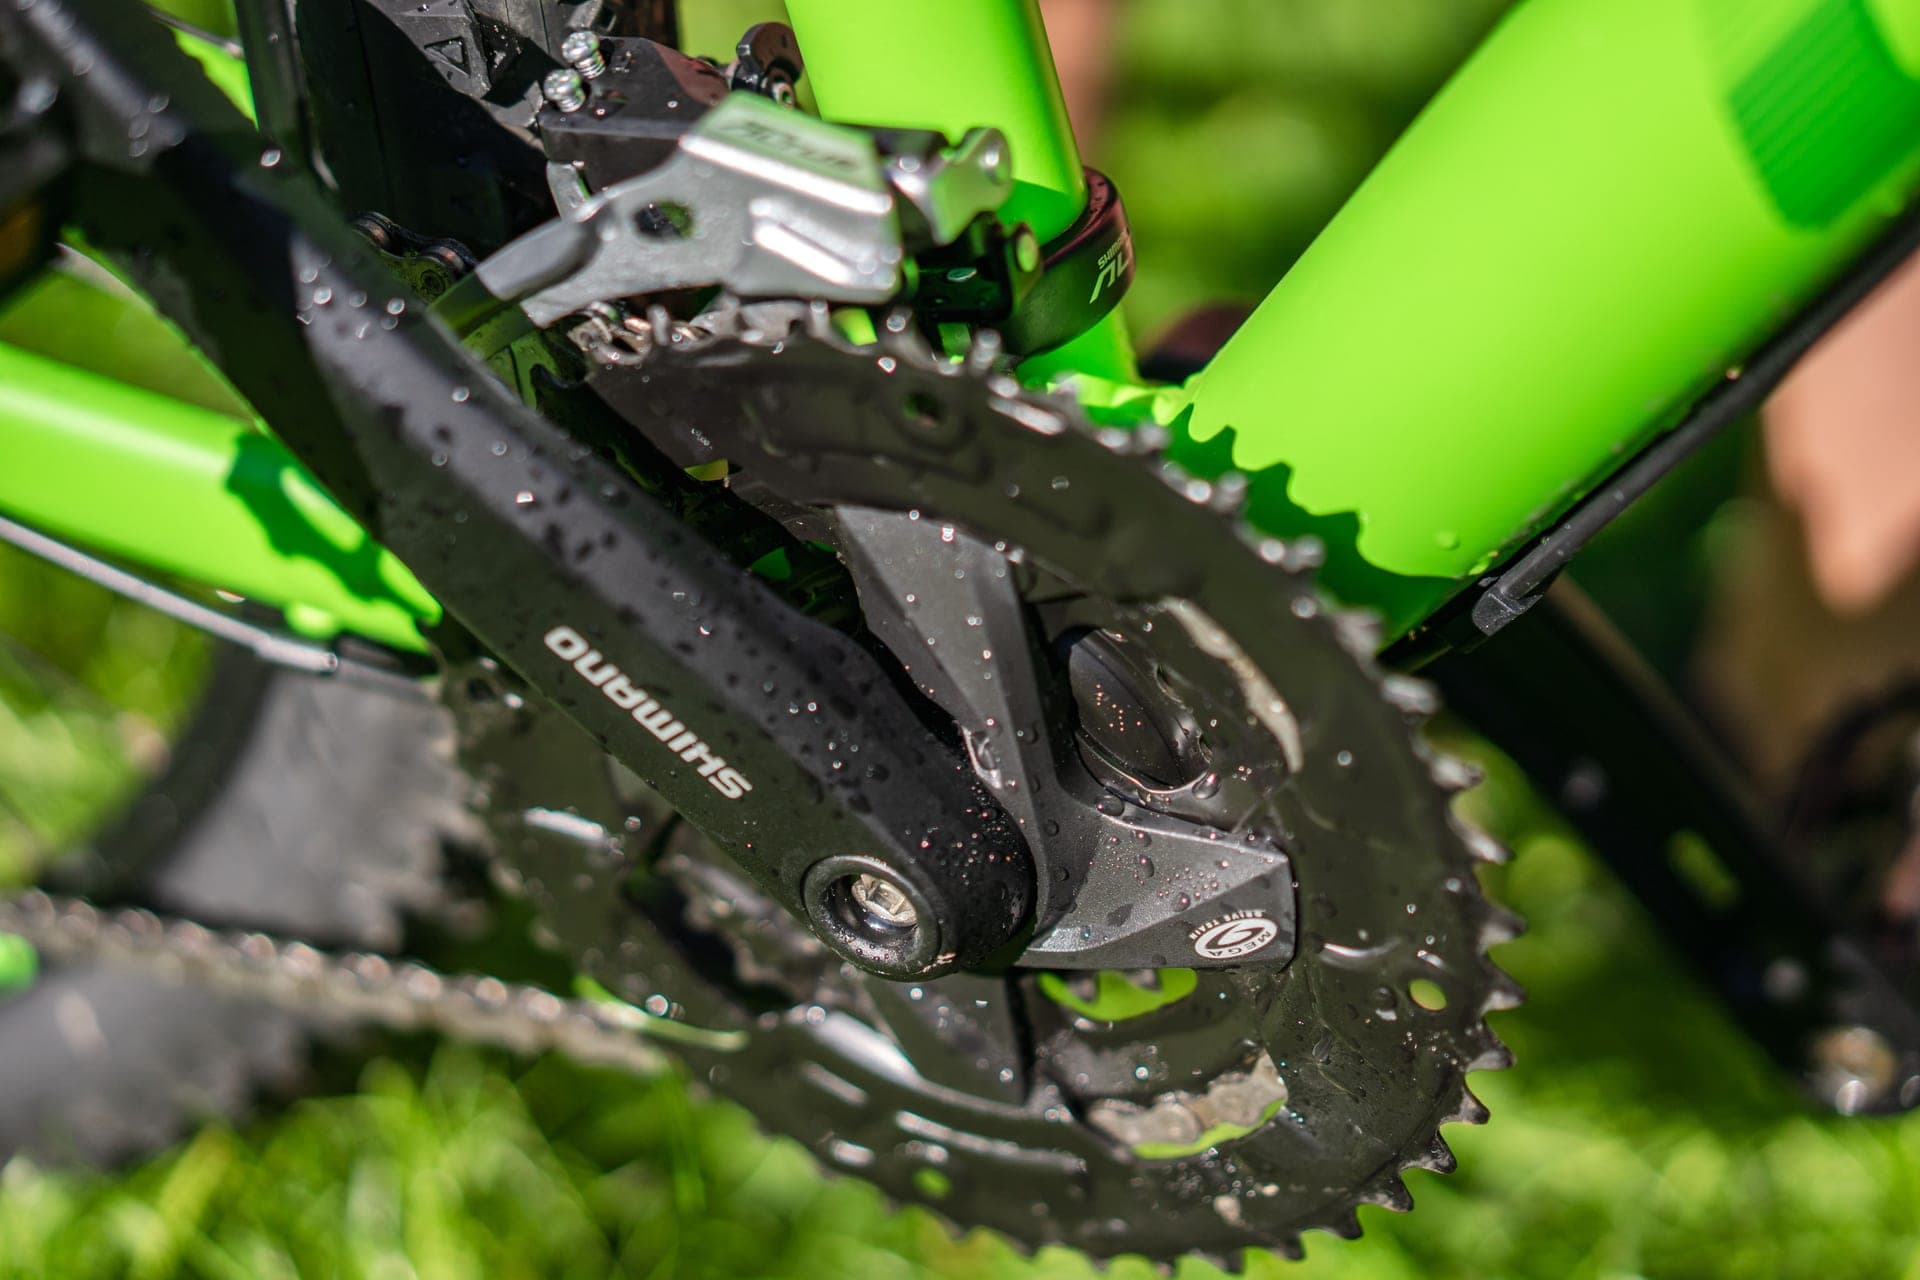
Then one preparation step that is purely about your hands: shift the chain onto the largest chainring.Park Tool’s stated reason is that it “helps protect against cuts from chainring teeth” — covering the teeth with chain is cheaper than a plaster, and your knuckles are going to be working right next to them.
Mechanical advantage is the whole technique
Pedals come off hard, because they have been tightening themselves every time the bike was ridden. Park Tool is explicit that “correct mechanical advantage is critical on pedals, which are often overly tight”, and the published instruction is specific: position the wrench so that the wrench and the crank arm form an angle of 90 degrees or less. Then grab the opposite crank as a second lever and push the two apart.
That is it. Not more force — better geometry, two hands, and a wrench that is actually a pedal wrench. If you are standing on a wrench with the crank at a shallow angle, you are fighting the job rather than doing it.
The hex-key version, and the thing that confuses everyone
Three of the autocomplete completions for this query are about using an Allen key, and the answer is that many modern pedals have no wrench flats at all. Park Tool: these pedals “will typically have a 8mm hex fitting in the back side of the pedal thread”, so you work from the inboard side of the crank.
And here is the part that catches people, in Park Tool’s own framing: the thread direction has not changed, but “the appearance of the wrench turning ‘clockwise’ or ‘counter-clockwise’ will appear different”, because you are now looking at the fastener from the opposite side. The published fix is to set your point of view deliberately: view the wrench from the orientation of the pedals — stand on the right side of the bike for the right pedal, and on the left side for the left pedal— and turn accordingly.
An 8 mm hex is also a long lever only if you have a long key. On a seized pedal, a pedal wrench with 300 mm of handle will beat a folding multitool every time, which is worth knowing before you round out the hex socket.
Installing them, including the published torque figure
Identify left and right first — stamped markings, or the thread-slope rule. Then grease the threads heavily.Park Tool’s word is “heavily”, and the reason is the next person: a dry steel spindle in an aluminium crank is how a pedal becomes impossible to remove in three years.
Thread each pedal in by handon the wrench flats first. If it does not start easily by hand, stop — that is a cross-thread, and forcing it with a wrench is how a crank gets destroyed. Then snug it with the wrench, holding the opposite crank as a second lever, pedalling backwards to tighten.
Park Tool publishes a figure: “Typical torque for pedal thread is about 360 inch-pounds. With a foot long wrench, that is about 30 pounds of effort.” That is roughly 40 Nm — firm, and well above most bicycle bolts. It is also the most useful calibration on this page, because it tells you that “tight” here means genuinely tight rather than gently snug.
Which way, on which side, for which job
The last column is the rule that works on both sides and is worth learning instead of the other four.
| Pedal | Thread | To remove | To install | The one rule |
|---|---|---|---|---|
| Right (drive side) | Right-hand — slopes up to the right | Counter-clockwise | Clockwise | Pedal forwards to loosen |
| Left (non-drive side) | Left-hand — slopes up to the left | Clockwise | Counter-clockwise | Pedal forwards to loosen |
The published specifications worth having
| Pedal thread torque | About 360 inch-pounds (≈40 Nm) — Park Tool's published figure |
| Effort that produces it | About 30 pounds on a foot-long wrench — Park Tool |
| Hex fitting, when there are no flats | 8 mm, in the back side of the pedal thread |
| Common thread sizes | 9/16 in × 20 TPI (adult bikes); 1/2 in × 20 TPI (some one-piece cranks) |
| Wrench-to-crank angle | 90 degrees or less, for mechanical advantage |
| Chain position before starting | Largest chainring, to cover the teeth |
| Thread preparation | Grease heavily, or use anti-seize |
| Tool to never use | A cone wrench — it is not a pedal wrench |
Every row is quoted from Park Tool’s Pedal Installation and Removal article, retrieved 11 October 2026. The newton-metre conversion is ours, computed from the published inch-pound figure.
What actually decides this purchase
A pedal that will not move
One of the autocomplete completions for this query is “how to remove bike pedals that are stuck”, so here is the honest order of operations. None of it is force first.
Check the direction again. This is not a joke and it is the most common cause. A left pedal being turned counter-clockwise is being tightened, and it will feel exactly like a seized pedal because you are seizing it.
Fix the geometry.Get the wrench-to-crank angle to 90 degrees or less, and use the opposite crank as the second lever with both hands. Most “seized” pedals are a leverage problem.
Then penetrating oil and time. Apply it at the junction of spindle and crank, leave it, come back. Hours, not minutes. Heat is the next step after that and it is the point at which, on a carbon crank, you should stop and take it to a shop.
If the threads are damaged,Park Tool’s published guidance is that chasing them with a tap may help — and is honest about the limit: taps “will align damaged threads, but will not restore metal that is simply removed”. If there are no threads left, that is a pedal bushing kit fitted by a professional mechanic, not a home job.
Why this job matters more than it sounds
Pedals are the one component you remove for a reason other than wear: packing a bike for shipment or a flight, servicing the bearings, or changing systems. That last one is the common case on this site — if you are moving from flats to clipless, or between cleat standards, this is the job standing between you and learning to clip in. Our road pedal roundup and gravel pedal roundup are where that choice gets made.
The two checks worth doing while you are down there
Park Tool points at both. First, pedal bodies are held together with small screws and bolts that hold the cage and mounting plates — check occasionally that those, and the cleat bolts on your shoes, are tight. Second, lubricate the pivot points on clipless mechanisms with a light lubricant; that is the part whose stiffness you will otherwise blame on the cleat.
On bearings, the published position is appropriately unglamorous: some pedals use adjustable cup-and-ball systems that can be cleaned, greased and adjusted with brand-proprietary tools, and “some pedal models are not intended to be serviced, and are simply ridden until the pedal wears out”. Park Tool’s own recommendation is that pedal bearing service is typically best left to a professional mechanic, and we are not going to contradict that.
What this job needs
Not a ranking — a pedal change needs an 8 mm hex or a proper pedal wrench, grease for the threads, and somewhere to hold the bike. Each item comes from the roundup where it was ranked against its own category. A folding multitool will do the job on a loose pedal and will lose to a seized one, which is why the workshop kit is also listed.
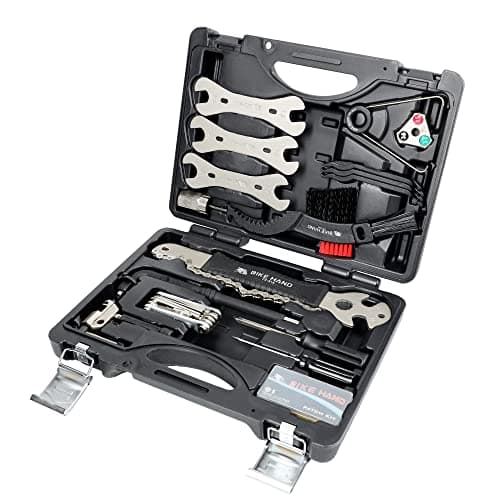
BikeHand Bike Repair Tool Kit
The 22-piece home kit, ranked on our workshop tools roundup. It is the sensible answer here because a pedal spindle wants a long-handled tool and a trail multitool gives you about 80 mm of leverage.
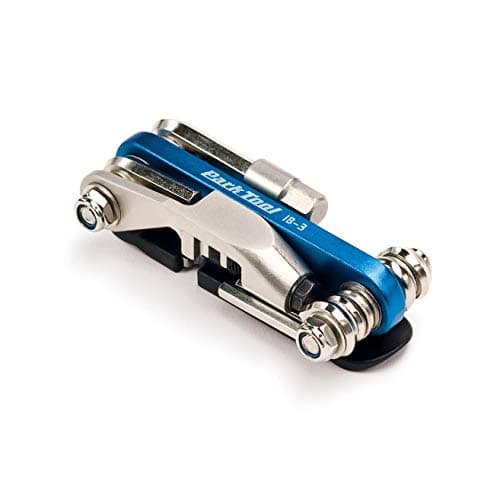
Park Tool IB-3 I-Beam
The portable hex keys, for the common 8 mm pedal fitting away from home. It is ranked on our multitool roundup for carrying — fine for installing a pedal you greased yourself, outmatched by one that has been on for five years.
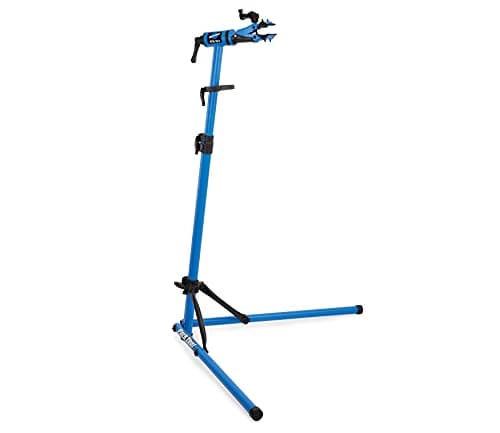
Park Tool PCS-10.3
The repair stand. Park Tool's own procedure begins by mounting the bike in a stand, and the reason is that this job needs both of your hands on two levers at once.
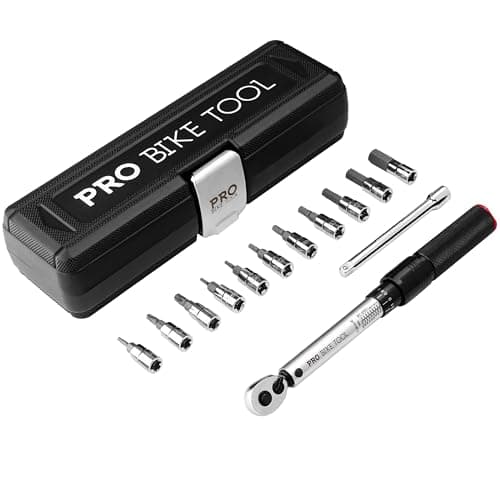
PRO BIKE TOOL Torque Wrench Set
For the other bolts you will meet on the way, not for the pedal itself — the published pedal figure of about 360 inch-pounds is roughly 40 Nm, which is beyond this wrench's 2.2–16.9 Nm range. That mismatch is the useful information: a pedal is tightened harder than almost anything else on a bike.
We haven’t tested any of these — they’re the parts the job above calls for, listed so you don’t have to go hunting. Prices are live from Amazon and we earn a commission if you buy. Prices as of October 18, 2026. #ad
What we are not going to tell you
Your pedal’s exact torque figure.Park Tool’s 360 inch-pounds is published as “typical”, and its own torque reference carries the standing caveat that third-party tables are for reference only. If your pedals came with a figure, that figure wins. Our torque guide covers the subject.
Whether your crank is 9/16 or 1/2 inch.Both exist; 9/16 in × 20 TPI is the adult-bicycle norm and 1/2 in appears on some one-piece cranks. We cannot tell which yours is from here, and a pedal that will not start by hand is the symptom of guessing.
How long a pedal lasts. Nobody publishes a service life, and the published position above is that some pedals are not serviceable and are ridden until they wear out. Play at the spindle and a gritty feel through the pedal stroke are the signals; there is no interval to quote.
Common questions
Which way do you unscrew bike pedals?
The right pedal unscrews counter-clockwise, like a normal bolt. The left pedal is reverse-threaded and unscrews clockwise. The rule that covers both without memorising sides: turn the pedal as though you were pedalling forwards and it loosens; pedal backwards and it tightens.
Are bike pedals reverse threaded?
The left one is. The right pedal has a conventional right-hand thread and the left has a left-hand thread, so that normal pedalling tightens each of them rather than gradually unthreading one. Park Tool’s way of identifying an unmarked pedal is to look at which way the thread slopes: left-hand threads slope up to the left, right-hand threads up to the right. Many pedals are also stamped L and R on the axle or flats.
Can you install bike pedals with an Allen key?
Often yes — many pedals have no wrench flats and instead take an 8 mm hex in the back of the spindle, worked from the inboard side of the crank. The thread direction is unchanged, but the apparent direction of turn reverses because you are looking at it from the other side. Park Tool’s fix is to stand on the same side of the bike as the pedal you are working on and judge the direction from there.
How tight should bike pedals be?
Tighter than most bicycle bolts. Park Tool publishes “typical torque for pedal thread is about 360 inch-pounds” — roughly 40 Nm — and translates it usefully: about 30 pounds of effort on a foot-long wrench. If your pedals came with their own figure, use that instead.
How do you remove a stuck bike pedal?
First, check you are turning it the right way — a left pedal turned counter-clockwise is being tightened, and that is the most common cause of a “seized” pedal. Then fix the leverage: wrench and crank at 90 degrees or less, opposite crank as a second lever, both hands. Then penetrating oil and hours of patience. If the threads are damaged, Park Tool notes a tap can realign them but “will not restore metal that is simply removed”, and a crank with no threads left needs a professional bushing kit.
Do you need to grease bike pedal threads?
Yes — Park Tool’s published instruction is to grease the threads “heavily”, or to use an anti-seize compound. A dry steel spindle in an aluminium crank is the mechanism behind almost every pedal that cannot be removed years later. It costs nothing at install time and saves the whole crank later.
Sources
- Park Tool — Pedal Installation and Removal, published 21 August 2015. Source of every direction and specification on this page: right pedal right-hand thread (removes counter-clockwise, installs clockwise) and left pedal left-hand thread (removes clockwise, installs counter-clockwise); the thread-slope identification rule; shifting to the largest chainring because it “helps protect against cuts from chainring teeth”; wrench and crank arm at “an angle of 90 degrees or less” because “correct mechanical advantage is critical on pedals, which are often overly tight”; the 8 mm hex fitting “in the back side of the pedal thread” and the instruction to view the wrench from the orientation of the pedals; greasing threads heavily; “typical torque for pedal thread is about 360 inch-pounds… with a foot long wrench, that is about 30 pounds of effort”; 9/16in × 20 TPI and 1/2in × 20 TPI thread sizes; taps “will align damaged threads, but will not restore metal that is simply removed”; “never use a cone wrench as a pedal wrench”; and the guidance that pedal bearing service is typically best left to professional mechanics — retrieved 11 October 2026
- Park Tool — Torque Specifications and Concepts, for the standing caveat that third-party torque tables are for reference only and the governing figure is the one supplied with the component. Cited elsewhere on this site with its original retrieval date — retrieved 5 October 2026
- The 40 Nm figure is our own conversion of Park Tool's published 360 inch-pounds, not a separately published specification. The penetrating-oil-and-patience sequence for a seized pedal is convention; no maker publishes a procedure for it
- Google Autocomplete — “how to install bike pedals” returns “with allen key”, “without pedal wrench”, “youtube”, “how to remove bike pedals”, “how to replace bike pedals”, “how to remove bike pedals that are stuck”, “how to remove bike pedals square axle”, “how to remove bike pedals with allen key” and “how to put bike pedals on” — retrieved 11 October 2026
Read next
- How to use clipless pedals
Once they are fitted: clipping in, clipping out, and not falling over.
- The best road bike pedals
Which pedal to fit, ranked on published float.
- The best gravel bike pedals
The two-bolt side, where the cleat is recessed and you can walk.
- The bike bolt torque guide
Why a published figure beats a table, and what 40 Nm feels like.
- The best home workshop tools
Where the long-handled tools this job wants are ranked.
- How to set up cycling cleats
The next job after fitting a new pedal system.
We haven’t ridden or tested any of the products on this page, and we don’t pretend otherwise. Read how we research — or tell us we’re wrong and we’ll log the correction.